
The WAMP server is a highly valued tool among web developers, providing a local hosting environment on Windows for developing PHP web applications. In combination with Localtonet, you can access your WAMP server remotely, expanding its potential. This guide will walk you through setting up WAMP server and configuring it for remote access with Localtonet.
1. Installing WAMP Server:
First, you need to download and install the WAMP server on your Windows machine. You can download it from the official WAMP server website. Run the downloaded file and follow the on-screen instructions to install WAMP. After installation, you can start the server by clicking on the WAMP server icon.
2. Setting up a Virtual Host in WAMP:
After starting WAMP, you can create your own Virtual Host. To do so, click on the WAMP icon, navigate to "Your Virtual Hosts," and then click on "Virtual Host Management." Here, you can add your Server Name (which can be any name of your choice) and point it to the absolute path where your web application files are located.
3. Install Localtonet on Your Windows Machine:
Localtonet will enable your WAMP server to be accessible over the internet. Download the Localtonet client for Windows from the official website, install it, and retrieve your AuthToken from the Localtonet dashboard.
4. Launch Localtonet and Input Your AuthToken:
After installing Localtonet, start the application and enter the AuthToken when prompted. This initiates the secure connection between Localtonet and your server.
5. Configure Localtonet for WAMP Server:
With the secure connection established, you now need to direct Localtonet to your WAMP server. In the Localtonet settings, enter the local IP address (usually 127.0.0.1) and the port that your WAMP server is listening on (typically 80).
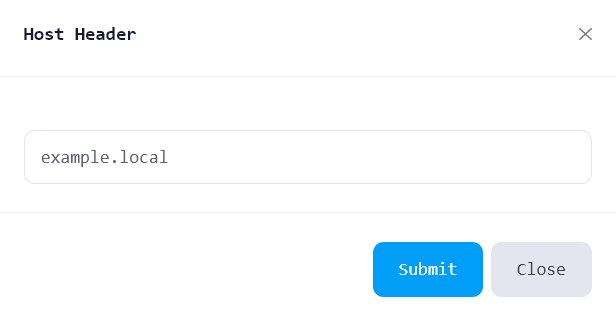
IMPORTANT NOTE: If you've set up your own virtual host on WAMP, make sure to go to the "Tunnel settings" in Localtonet, click on "Rewrite Host Header," and enter the Server Name that you provided when setting up your virtual host in WAMP. This is crucial to correctly route the incoming requests to your virtual host.

6. Remote Access to WAMP Server:
Once you've completed these steps, your WAMP server should now be accessible remotely via the public URL provided by Localtonet. You can enter this URL into any web browser to access your WAMP server.
In summary, using Localtonet to enable remote access to a WAMP server allows you to access your locally hosted web applications from anywhere, enhancing your workflow. However, always keep in mind to maintain a strong focus on security to protect your server and data.
