
How to Enable Device Owner (Owner Mode) for Localtonet Mobile App
Important: Before you begin, do not install any apps or sign in to your Google account (or any other accounts) on your device. The device must be freshly reset and set up as new, without any personal accounts or extra applications installed. Proceed directly to these steps as soon as the device starts after a factory reset.Warning: This process may wipe all user data from your device. Back up your important data before proceeding!
Requirements:
- An Android device (preferably factory reset or freshly set up)
- A computer (Windows, macOS, or Linux)
- ADB (Android Debug Bridge) installed on your computer
- Localtonet mobile app already installed on your device
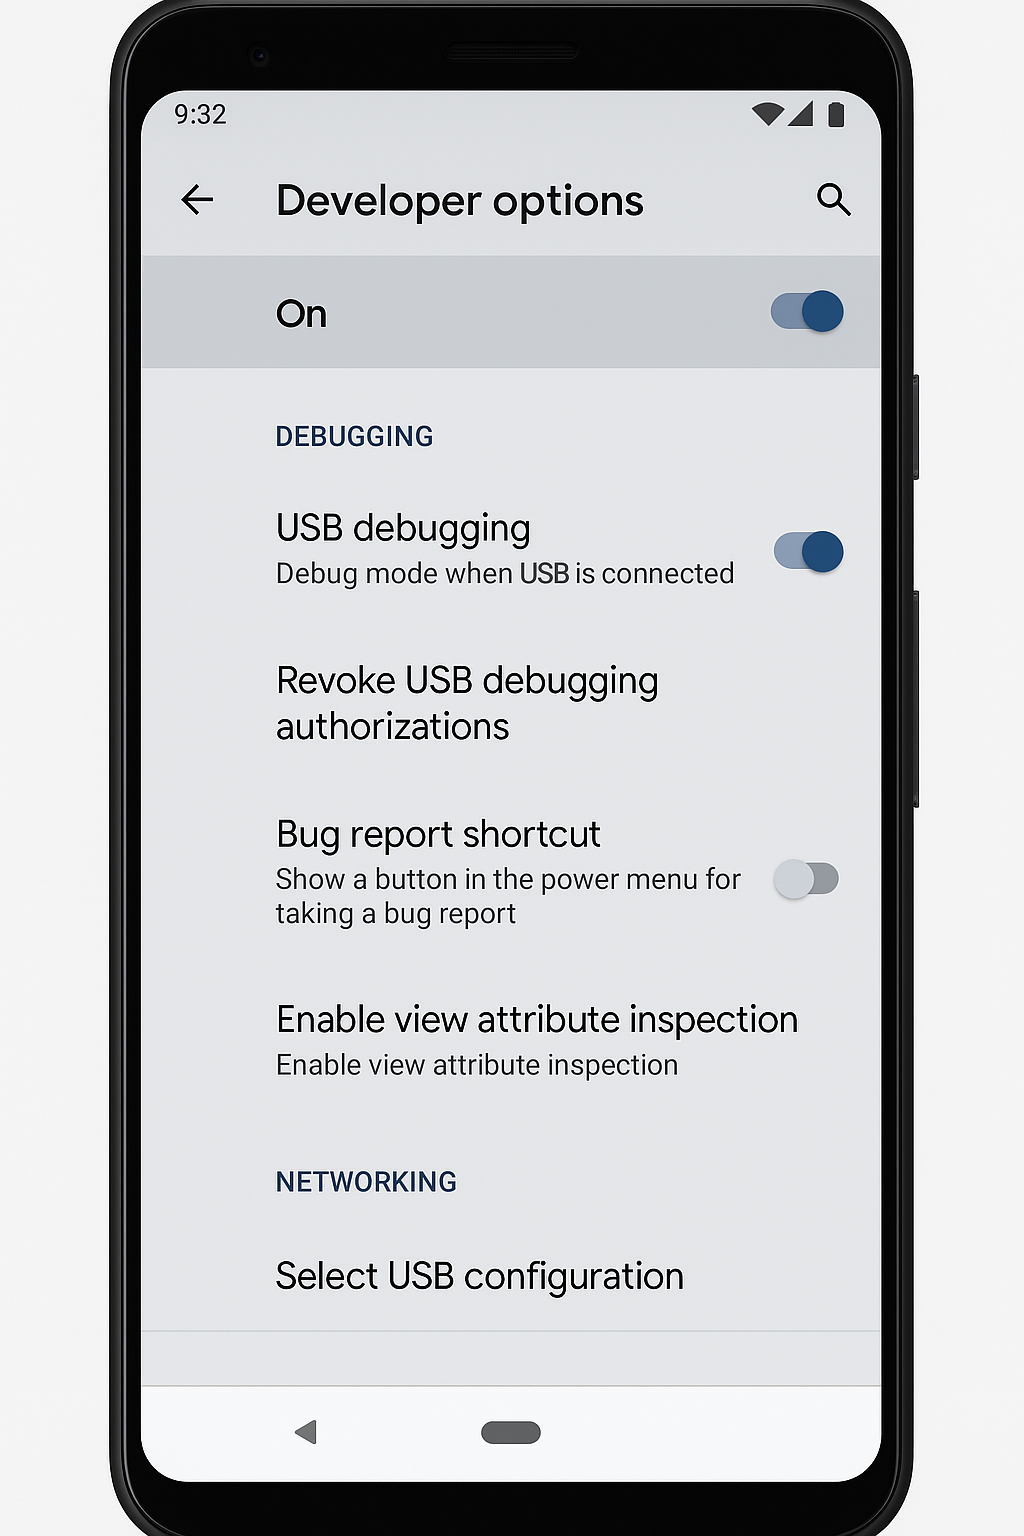
1. Enable Developer Options and USB Debugging
- Go to Settings > About phone on your Android device.
- Tap Build number 7 times until you see "You are now a developer!".
- Go to Settings > System > Developer options.
- Enable USB debugging.
2. Connect Your Device to the Computer
- Use a USB cable to connect your Android device to your computer.
- Allow USB debugging when prompted on your device screen.
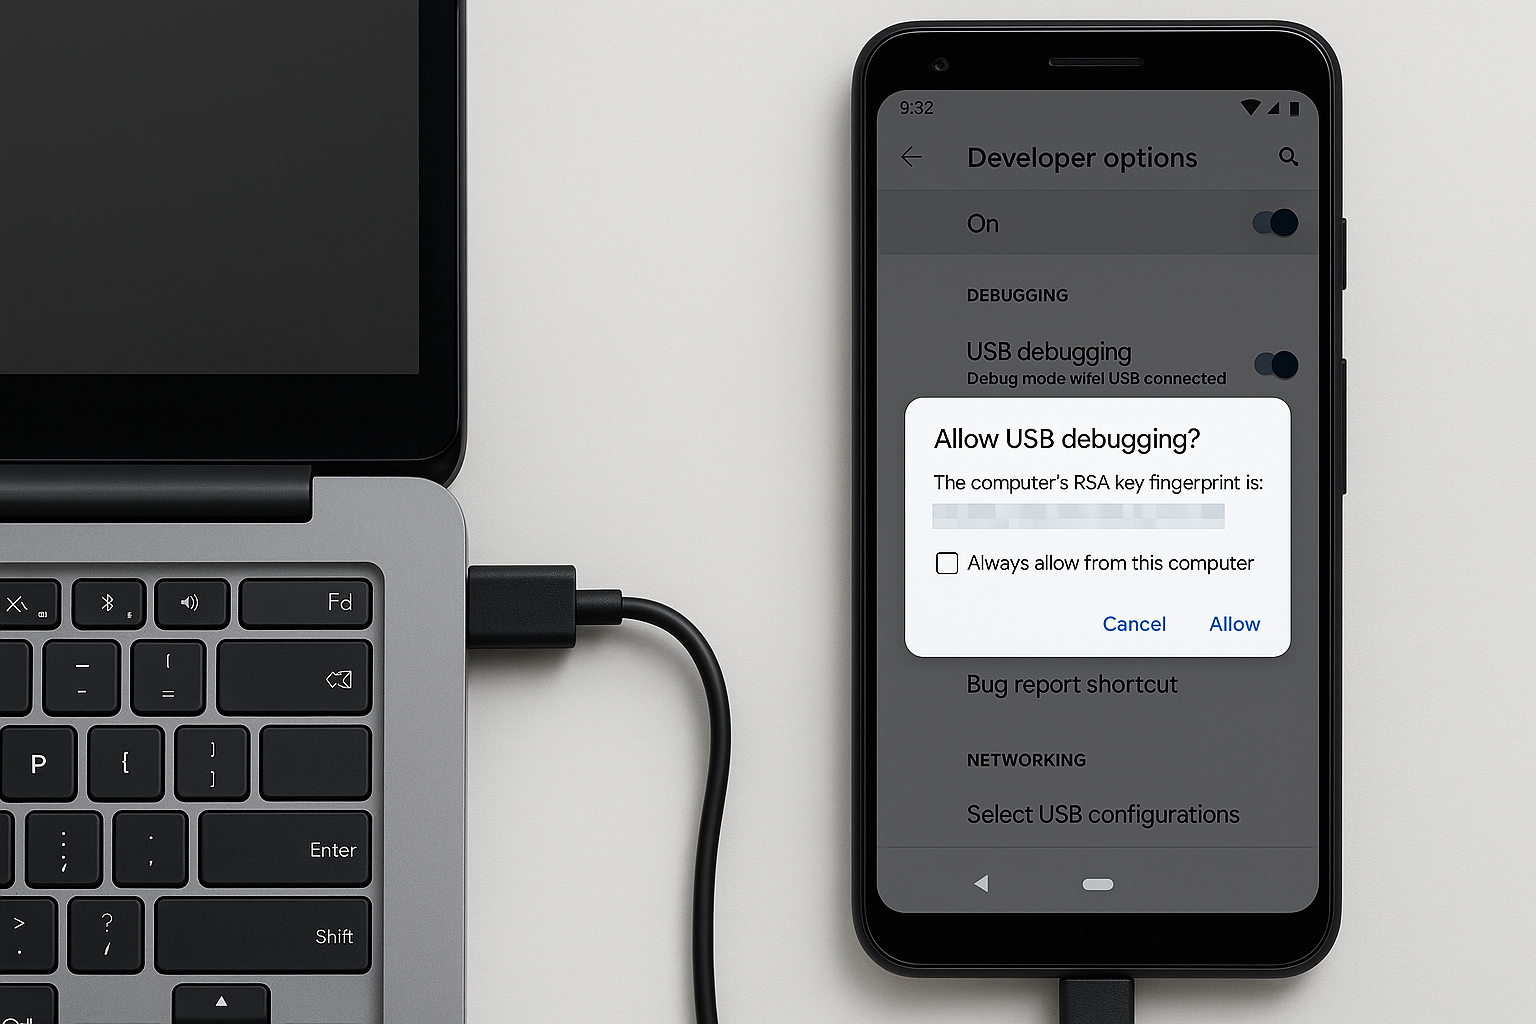
Connect your Android device to your computer and allow USB debugging
Click Allow.
3. Set Localtonet as Device Owner Using ADB
Open a Command Prompt or Terminal window on your computer and run:
adb shell dpm set-device-owner com.localtonet.localtonetapp/.MyDeviceAdminReceiver
com.localtonet.localtonetappis the package name for Localtonet app..MyDeviceAdminReceiveris the Device Admin receiver class.
If successful, you should see:
Success: Device owner set to package ComponentInfo{com.localtonet.localtonetapp/com.localtonet.localtonetapp.MyDeviceAdminReceiver}
4. Troubleshooting
- If you get a "Not allowed to set the device owner" error, perform a factory reset, install Localtonet, and try again before setting up other accounts.
- If another Device Owner is already set, you must remove it first.
Note: This feature works only on Version 9.2 and above.
