이 페이지는 아직 한국어(으)로 제공되지 않아 영어로 표시됩니다.
Add a Custom Domain
The steps to add a Custom Domain on Localtonet writes information about what needs to be done after creating it.
이 페이지의 내용 섹션 3개
Connect a domain you own to a Localtonet tunnel and use it with automatic HTTPS.
Prerequisites #
- A domain you own and access to its registrar’s admin panel.
- A Localtonet account.
- The Localtonet client installed.
Steps #
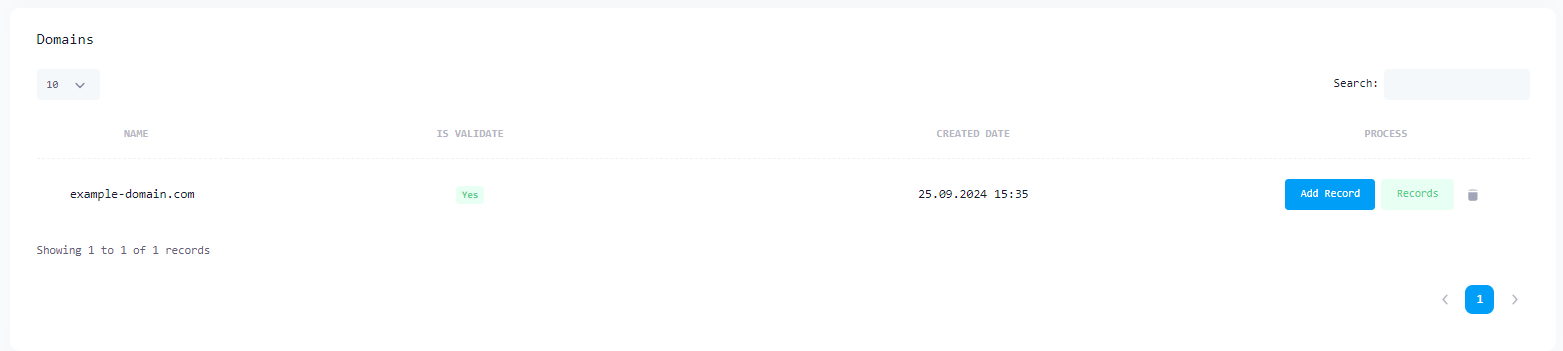
- Open the DNS Manager, click Add Domain, and enter only the root domain, such as
yourdomain.com. Do not includewwwor another subdomain. See the DNS Manager example. - At your registrar, replace all existing nameservers with only
ns1.localtonet.comandns2.localtonet.com, then save. - Wait for DNS propagation. It usually completes within 1–2 hours but can take up to 48 hours. You can check it at dnschecker.org.
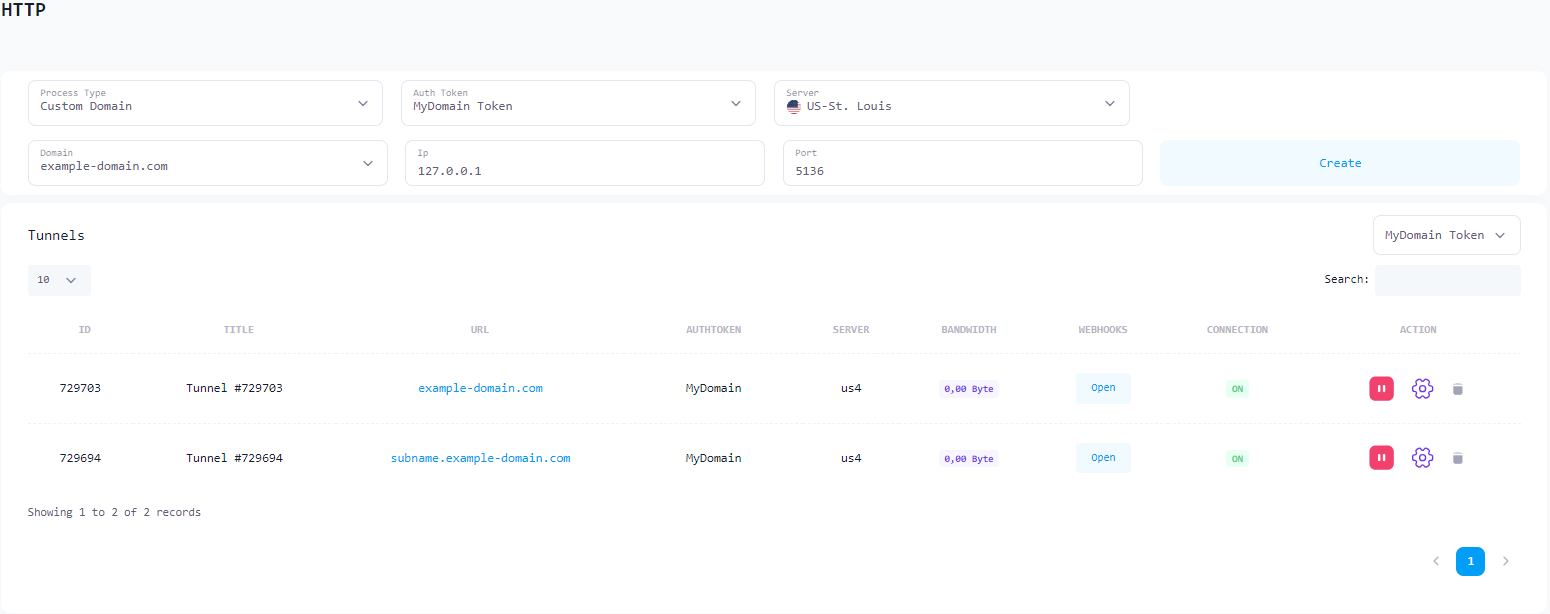
- Open the HTTP Tunnel page and click Create New Tunnel.
- For Process Type, select Custom Domain. Select your domain, then enter a subdomain such as
appforapp.yourdomain.com, or leave it blank to use the root domain. See the configuration example. - Enter the local service IP and port, such as
127.0.0.1and3000or8080. - Click Create, then Start. Localtonet automatically provisions and renews the TLS certificate.
DNS management #
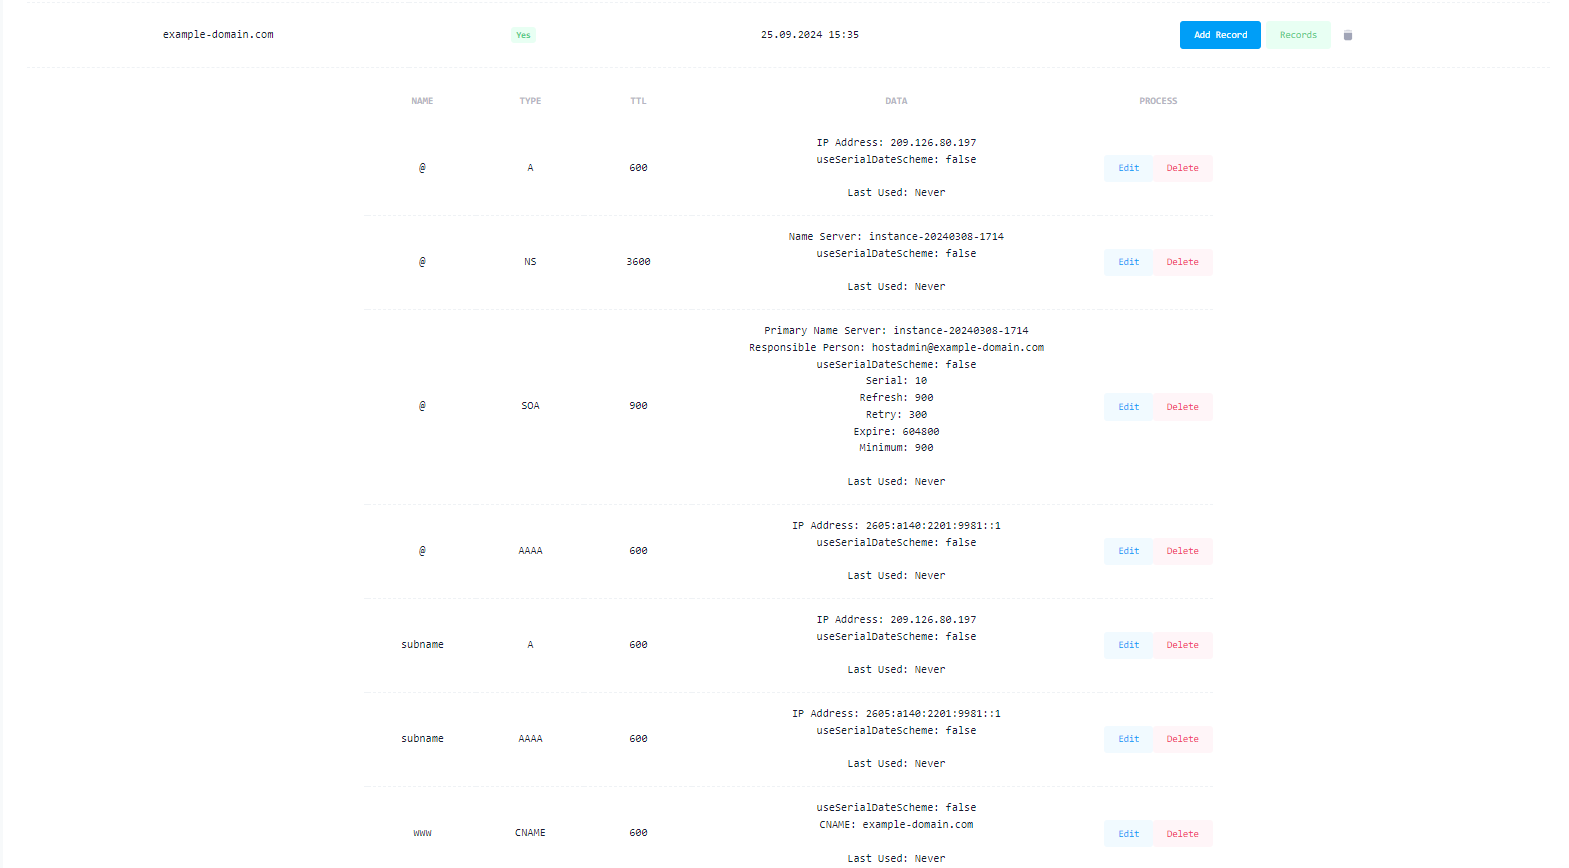
After changing the nameservers, manage all A, CNAME, MX, and TXT records in the Localtonet DNS Manager, not at your registrar. See the DNS records example.