

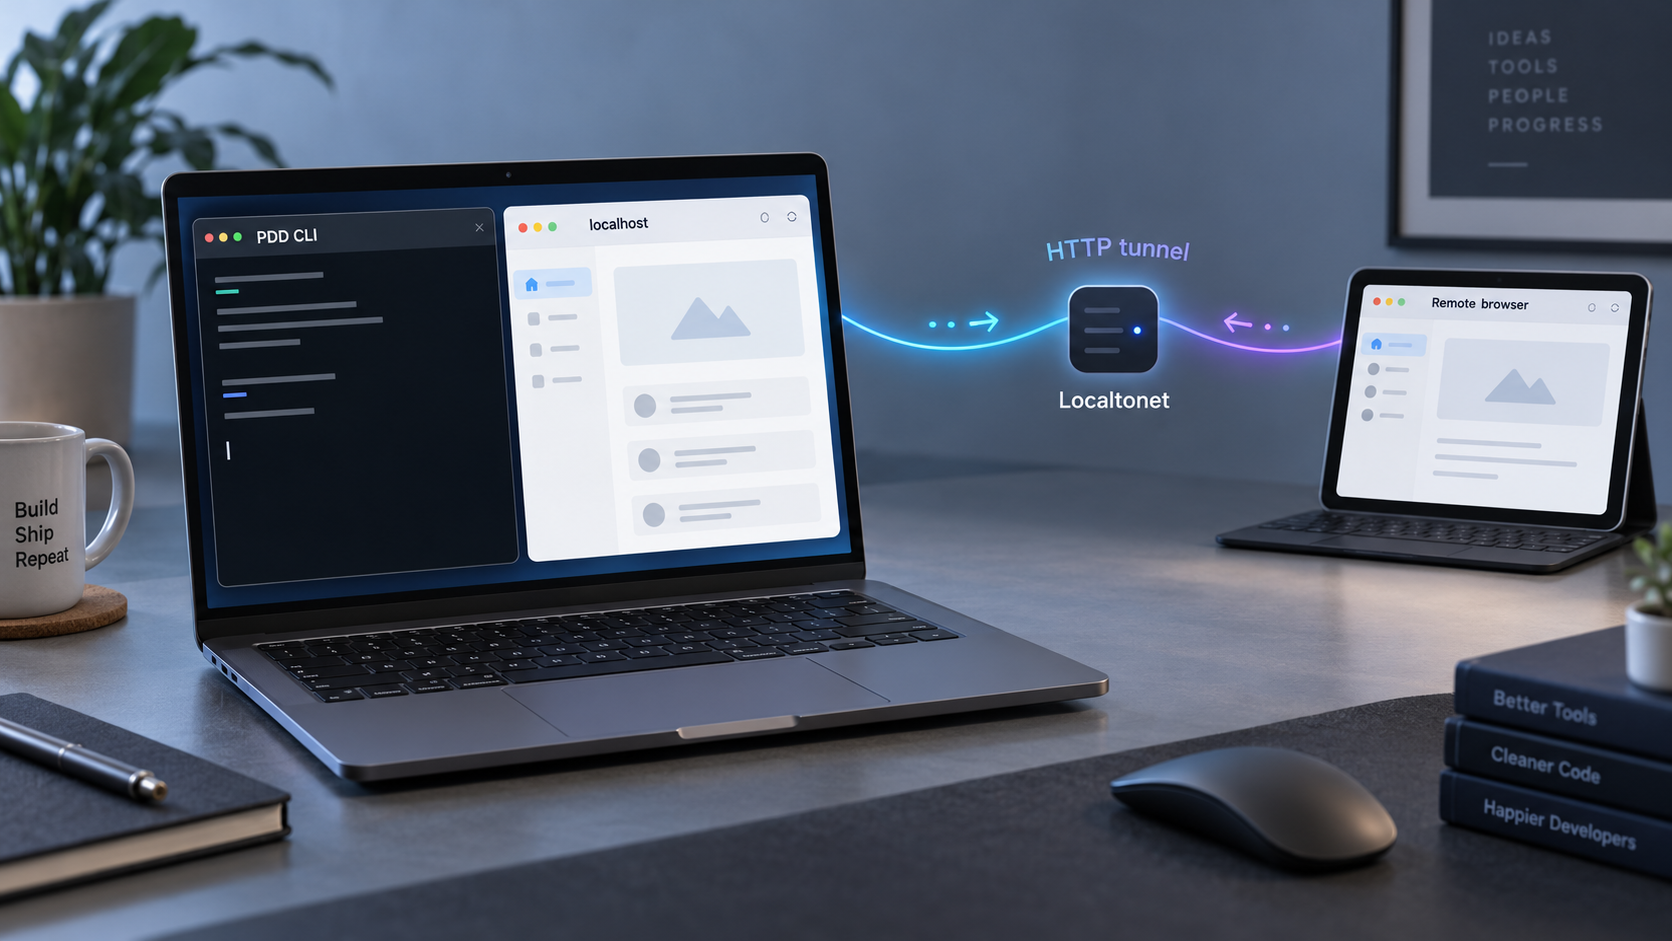
Run the prompt-driven development interface locally, verify it, and expose it only when you are ready
PDD CLI provides a prompt-driven workflow in which prompt files remain the source artifacts and generated code becomes output. This guide installs the CLI with its recommended uv method, runs the documented setup process, starts the browser interface on localhost:9876, and verifies that it works locally. We then configure a Localtonet HTTP tunnel as a separate remote-access step, without requiring inbound router port forwarding, firewall changes, a VPN, or a public IP address.
📋 What's in this guide
What PDD CLI is and where its web interface fits
Prompt-Driven Development, or PDD, is a development approach that treats prompt files as durable source artifacts. Instead of making generated code the only authoritative representation of a system, the workflow keeps intent, requirements, and relevant context in prompts. Code, examples, and tests can then be generated and synchronized from that intent.
The documented PDD workflow includes defining requirements, finding necessary context, generating code, creating examples, verifying behavior, generating tests, fixing failures, and updating prompts with implementation knowledge. Commands documented by the project include operations such as pdd generate, pdd example, pdd verify, pdd test, pdd fix, and pdd update. More advanced workflows can use features such as dependency discovery and prompt splitting, but those operations are separate from installing the CLI and starting its browser interface.
For the workflow covered here, the most important command is pdd connect. It launches PDD's web interface at the documented local endpoint localhost:9876. That local address is the first place to test the application. A Localtonet tunnel should be added only after the interface opens successfully from the same machine.
pdd command used for setup, generation, verification, testing, fixes, updates, and the browser connection workflow.
pdd connect starts the documented interface at localhost:9876.
Localtonet does not install or configure PDD. First install PDD CLI, complete pdd setup, start the interface, and confirm that localhost:9876 works. The HTTP tunnel simply forwards requests to that already-running local service.
Prerequisites and decisions to make first
The official PDD material recommends installing the CLI with uv. It also identifies pip as an alternative. The evidence available for this guide establishes the exact recommended uv tool install pdd-cli command, but it does not establish a current exact pip command, Python version requirement, operating-system matrix, or shell-specific instructions for every platform. We therefore use the documented uv path and do not guess the missing details.
Before beginning, make sure you have a terminal on the machine where PDD will run, permission to install command-line tools for your user, and a browser that can reach services on that same machine. If you later want remote access, install and run the Localtonet client on the PDD host itself or on another device that can reach the PDD host and port.
You should also decide whether you actually need a public tunnel. If you only use PDD from the same computer, the loopback address is sufficient. If you want the project-maintained hosted experience, PDD Cloud may be a better fit. A Localtonet HTTP tunnel is relevant when you specifically want to expose the working local interface through an assigned public HTTPS address while continuing to run PDD on your own machine.
| Requirement or choice | Why it matters | What this guide establishes |
|---|---|---|
| Terminal access | Needed to install and run PDD CLI | The commands are entered by the user running PDD |
uv |
Recommended installation method | The documented package command is uv tool install pdd-cli |
| PDD setup | Completes the project's initial configuration workflow | Run the documented pdd setup command and respond to its current prompts |
| Local port 9876 | The web interface must be reachable before tunneling | pdd connect uses the documented endpoint localhost:9876 |
| Localtonet client | Establishes the outbound connection to our relay | It must run on a device that can reach the PDD endpoint |
| Access policy | A public URL changes the exposure boundary | Do not assume the PDD interface provides authentication unless your current installation confirms it |
PDD's repository includes platform-specific setup material, including Windows-oriented documentation, but the supplied evidence does not establish exact supported operating-system versions, Python versions, PATH instructions, or a universal Windows installation command. Check the current project documentation if the commands below do not match your environment rather than substituting guessed commands.
Install PDD CLI with the recommended uv method
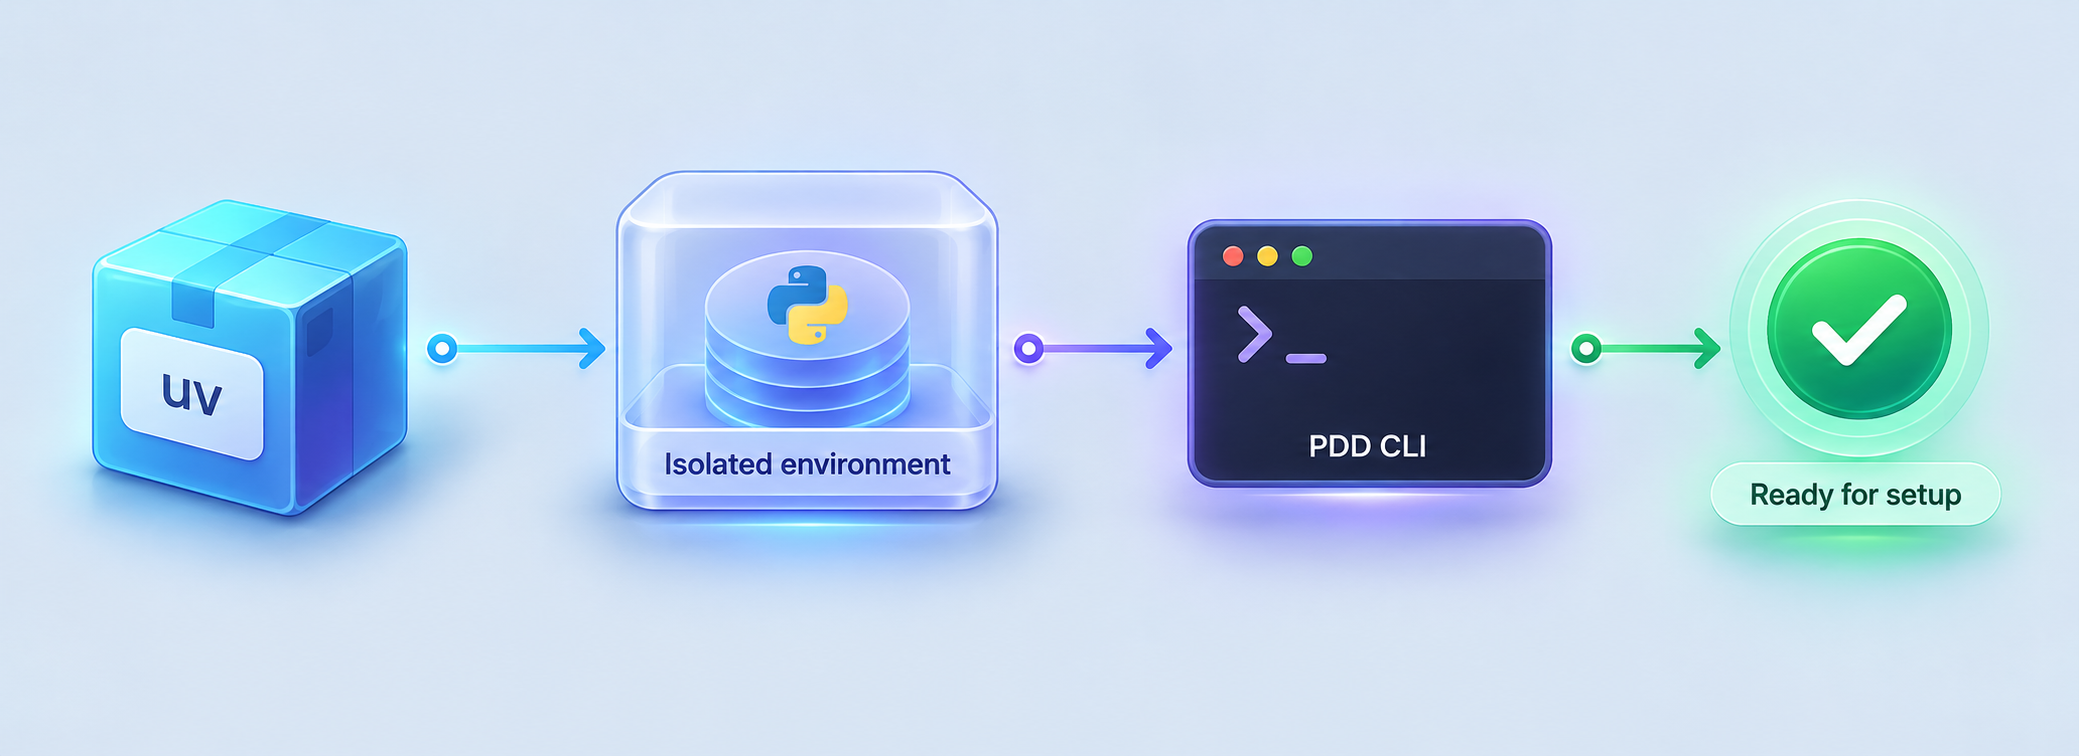
The recommended installation path uses uv to install pdd-cli as a command-line tool. Keeping it as a tool installation helps make the pdd executable available independently of a particular application project's dependency environment.
Check whether uv is already available
Open a fresh terminal and try invoking uv. If your shell recognizes it, proceed directly to installing PDD CLI. If it is not recognized, install uv using an installation method appropriate for your operating system.
Install uv when needed
The PDD getting-started material shows the following shell installer. This command downloads a script and passes it to the shell, so inspect and approve this installation method according to your organization's software policy before running it.
curl -LsSf https://astral.sh/uv/install.sh | shOpen a new terminal if necessary
Installer changes to your executable search path might not be visible in an already-open shell. If uv is still not recognized after installation, open a new terminal and retry before changing anything else.
Install the PDD CLI package
Use the project's documented recommended command:
uv tool install pdd-cli
A successful tool installation should make the pdd executable available to a new shell. The next documented action, pdd setup, also serves as a practical check that the shell can find and launch the command.
What about installing with pip?
The PDD project describes pip as an alternative installation route. However, the supplied evidence does not provide the current exact package command, environment recommendations, or Python-version constraints for that route. We do not reproduce an assumed command because package names, extras, and environment guidance can change. Use the recommended uv method above for this workflow, or follow the current PDD README if you specifically require a pip-managed installation.
A command that pipes downloaded content directly to a shell executes what the server returns. Use the official installer only if that approach complies with your security policy. In managed environments, administrators may require a reviewed package, a pinned artifact, or another approved installation procedure.
Run the initial PDD setup
After installation, run PDD's documented setup command:
pdd setupComplete the prompts displayed by your installed version. The available evidence does not enumerate every current question, provider choice, credential location, or generated configuration file, so this guide does not invent those values. Read each prompt carefully and provide only credentials or configuration that you understand.
This distinction matters because PDD can coordinate code-generation workflows and provider-backed operations. Setup behavior can evolve between releases. For example, release information for version v0.0.310 describes changes to provider-attempt receipts, ChatGPT subscription routing, language validation, completion behavior, and several CLI fixes. Those release-specific details show why the prompts shown by your installed version are more authoritative than a hardcoded transcript.
Launch the setup command
Run pdd setup as the same user who will start and operate PDD. This reduces confusion caused by configuration being written for one user while the service is later launched as another.
Review the current prompts
Follow the questions presented by the installed release. Do not paste credentials into screenshots, public issue reports, shell history examples, or tunnel configuration fields.
Finish setup before starting the interface
Resolve any reported setup errors first. Starting a tunnel cannot repair an incomplete PDD configuration because the tunnel only transports traffic to the local service.
Keep project and account secrets out of the tunnel configuration
A Localtonet HTTP tunnel needs a local target, not your PDD provider credentials. Do not enter model-provider keys, GitHub credentials, PDD secrets, Localtonet auth tokens, or private endpoints into article examples, public URLs, or fields that do not explicitly require them.
Localtonet device auth tokens identify client devices and must be kept private. Select the appropriate device through our dashboard rather than copying a real token into documentation, chat messages, or shared terminal output.
Start the PDD web interface
Once setup completes, start the documented browser interface with:
pdd connectThe documented local endpoint is:
http://localhost:9876
Keep the terminal process running while using the interface. If stopping the foreground command stops the web service, any tunnel pointing to port 9876 will remain unable to serve the application until PDD is started again.
PDD also documents a --local-only option for the connection workflow. When you intentionally want the PDD interface to remain local and plan to manage external reachability separately, use:
pdd connect --local-onlyThe option creates a natural separation of responsibilities: PDD runs its local interface, while Localtonet provides the optional public HTTP endpoint. That does not automatically make the interface private or authenticated at the application layer. It only clarifies which component is responsible for public reachability.
A Localtonet tunnel can forward requests only while both components are running: the PDD service must be listening locally, and the selected Localtonet client and tunnel must be connected. Creating a tunnel configuration alone does not start PDD and does not guarantee that the local target is reachable.
Verify the interface locally before tunneling it
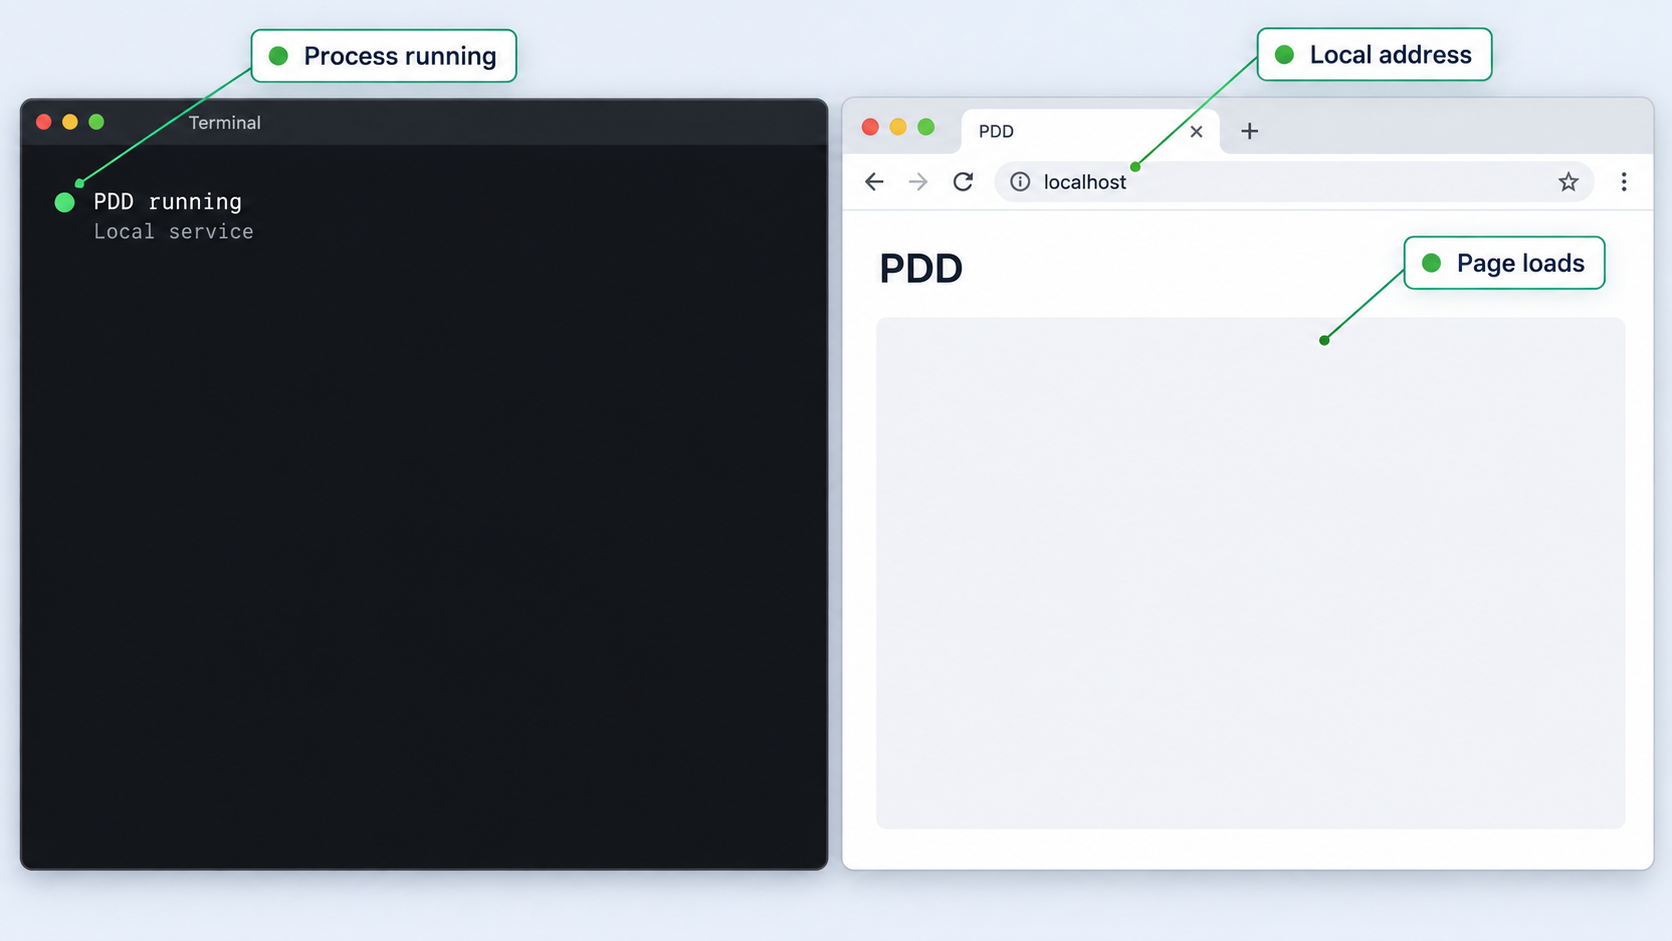
Local verification isolates application problems from tunnel problems. If the interface does not load from the PDD host, there is no useful service for Localtonet to expose. Complete this check before opening the Localtonet dashboard.
Keep pdd connect running
Leave the terminal that launched pdd connect or pdd connect --local-only open. Review any startup output for errors instead of assuming the interface started.
Open the documented local URL
On the same machine, navigate to http://localhost:9876. Use HTTP for this local check because that is the documented local endpoint.
Confirm the PDD interface responds
Verify that the browser reaches the expected PDD page rather than a connection error, an unrelated application, or a generic response from another process using the port.
Test a non-destructive interaction
Confirm that the interface is responsive without changing important project data. The exact controls can vary by release, so this guide does not prescribe a button or workflow that is not established by the available evidence.
What successful local verification proves
A successful response at localhost:9876 proves that the browser on that machine can reach the PDD interface at the expected port. It does not prove that another device can reach it, that a tunnel is running, that application-level authentication is configured, or that every PDD provider operation is functional.
If the page loads but an operation inside PDD fails, inspect PDD's own output and setup rather than changing the tunnel. An HTTP tunnel carries requests and responses, but it does not configure providers, repair project files, change generated code, or resolve upstream account issues.
Expose the working PDD interface with a Localtonet HTTP tunnel
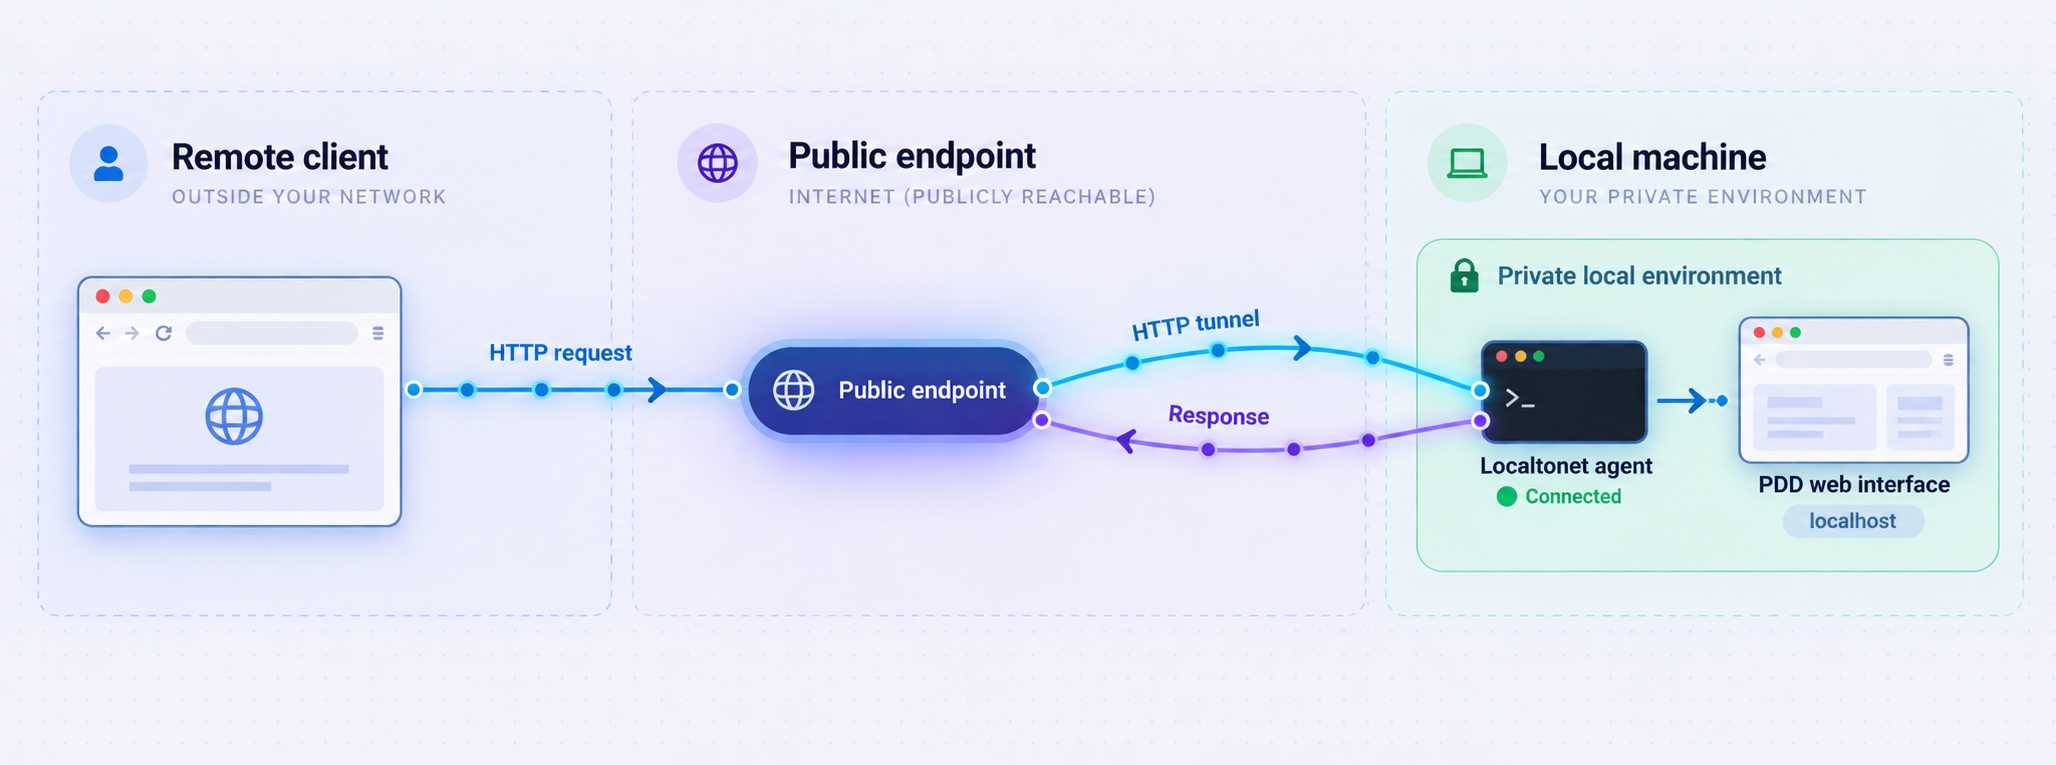
After local verification succeeds, you can use a Localtonet HTTP tunnel to make the service reachable through a public HTTPS address. Our client establishes an outbound connection to a Localtonet relay, so this workflow does not require an inbound router port-forwarding rule, a public IP address, firewall changes, or VPN setup.
Install the Localtonet client on the PDD host when possible. If you run it on another device, that device must be able to reach the address where PDD is listening. Because localhost always refers to the machine making the connection, a Localtonet client on a different computer cannot use its own localhost to reach PDD on the original host.
Choose the correct HTTP process type
Localtonet HTTP tunnels support Random Sub Domain, Custom Sub Domain, and Custom Domain process types. They all publish the same local web content through a public HTTPS address, but they differ in how the public hostname is selected.
| Process type | Use it when | Important consideration |
|---|---|---|
| Random Sub Domain | You want an assigned address without choosing a hostname | Use the generated public URL shown for the running tunnel |
| Custom Sub Domain | You want to select a subdomain where that option is supported | Availability can depend on the current dashboard and plan |
| Custom Domain | You want to serve the interface on a domain you control | Check current Localtonet documentation for exact DNS requirements before changing records |
Do not assume every process type, hostname, relay region, or related option is included with every subscription. Use the choices shown in your current Localtonet dashboard. Relay server codes and available regions are dynamic product values and should not be copied from an old tutorial.
Configure the HTTP tunnel
Install and run the Localtonet client
Install our client on the device that can reach the PDD service. Keep the client running so it can establish its outbound connection to our relay.
Authenticate or select the client device
Use the device-specific auth token assigned through your Localtonet account, or select the corresponding connected device in the dashboard. Never publish, guess, or reuse a token from an example.
Select an available relay server
Choose from the relay servers or regions currently offered in your dashboard. Do not hardcode a server code from another account or an older guide.
Create an HTTP tunnel to the PDD target
Select an HTTP tunnel and the desired process type. Set the local target to the address the Localtonet client uses to reach PDD, with local port 9876. When both run on the same host, this is the loopback target represented by PDD's documented localhost:9876 endpoint. Use the exact address format accepted by the current dashboard.
Start the tunnel
Use the Start button after reviewing the target. Creating or saving a tunnel does not make it active. The PDD process and Localtonet client must still be running.
Open and verify the assigned public address
Use the public URL assigned to the running tunnel. Confirm that it displays the same PDD interface you previously verified at localhost:9876. When remote access is no longer required, stop or delete the tunnel.
For the current dashboard sequence and field descriptions, consult our Localtonet HTTP tunnel documentation. The dashboard is the authoritative place to obtain available relay servers, process-type availability, and assigned public addresses.
Do not treat an unguessable-looking URL as authentication. Before sharing the address, determine whether the PDD interface in your installed version enforces appropriate access controls. If that cannot be confirmed, restrict use to trusted circumstances, avoid displaying secrets or sensitive repositories, and stop the tunnel immediately after the remote session.
Security and operational practices
A development interface can reveal project structure, prompts, generated output, run state, or account-related information. The exact data shown by PDD can vary with its release and configuration, so review the interface locally before making it remotely reachable.
Use the smallest practical exposure window
Start the HTTP tunnel when remote access is needed and stop it afterward. A stopped tunnel cannot forward new requests to the PDD service. If the tunnel will not be used again, delete its configuration. Remember that stopping PDD and stopping the tunnel are different actions.
Keep the local target narrow
Point the tunnel only to the PDD web service and its documented port. Do not expose an unrelated development server, database, remote shell, or broad network service merely because it is reachable from the same machine.
Protect both kinds of credentials
PDD credentials and Localtonet device auth tokens serve different purposes, but both are sensitive. PDD credentials belong in the configuration mechanism requested by PDD's setup flow. Localtonet tokens identify client devices. Neither should appear in a public URL, screenshot, code repository, tutorial, support post, or copied tunnel target.
Use application authorization where available
A tunnel provides network reachability. It should not be described as bypassing authorization or organizational policy. If the application offers authentication, authorization, workspace permissions, or other access controls, configure them according to your environment. The supplied evidence does not establish PDD web-interface authentication behavior, so we cannot claim that it is enabled by default.
Confirm the correct project before sharing access
If PDD is operating against a working directory or repository, verify that it is the intended project and that the exposed interface does not provide access to unrelated sensitive material. Avoid running the service with broader filesystem or account privileges than its workflow requires.
Plan for process lifecycle
The public endpoint depends on three live components: the PDD web process, the Localtonet client, and the started tunnel. Restarting the host, closing a terminal, changing users, losing connectivity, or stopping the tunnel can interrupt access. This behavior is useful for temporary sessions, but it should be accounted for if you expect longer-running access.
Troubleshooting installation, local access, and tunneling
The shell cannot find uv
If the uv installer completed but the command remains unavailable, open a new terminal so that any PATH updates can take effect. If it still fails, use the installation guidance appropriate to your operating system. Do not repeatedly run the installer without checking whether the executable was installed to a directory outside the current PATH.
The shell cannot find pdd
Confirm that uv tool install pdd-cli completed without an error, then open a new terminal. A tool can be installed correctly while an older shell still lacks the updated executable path. Run pdd setup only after the shell resolves the command.
pdd setup reports an error
Treat this as a PDD installation or configuration problem. Read the exact message shown by the installed release and correct that issue before starting the interface. Do not create a Localtonet tunnel as a workaround because network forwarding cannot complete application setup.
localhost:9876 refuses the connection
Make sure pdd connect or pdd connect --local-only is still running. Check the command's terminal output for a startup failure. Also verify that you typed the documented URL and port exactly:
http://localhost:9876If the process reports that the port is unavailable, another application might already be using it. The available evidence does not document a supported alternate-port flag, so do not guess one. Identify the conflicting process or consult the current PDD command help and documentation for supported options.
The local page works, but the public URL does not
Verify each layer in order:
- The PDD interface still loads locally at
localhost:9876. - The Localtonet client is connected on the selected device.
- The HTTP tunnel points to the correct local address and port
9876. - The tunnel has been started rather than merely created.
- You are opening the public URL assigned to that running tunnel.
This sequence prevents unnecessary changes. If step one fails, repair PDD. If step one succeeds but later checks fail, review the Localtonet client or tunnel configuration.
The Localtonet client is on another machine
On a second machine, localhost points back to that second machine, not to the PDD host. The remote Localtonet client therefore needs a network-reachable address for the PDD machine, and PDD must actually listen on an interface that accepts that connection. The supplied PDD evidence establishes only the local endpoint and does not establish a supported external bind option. The safest documented arrangement for this guide is to run the Localtonet client on the same host as PDD.
The public page opens, but a PDD action fails
If the interface itself is loading, the tunnel is transporting HTTP successfully. Investigate PDD setup, provider configuration, project state, and the terminal output from the PDD process. Release-specific features and fixes can affect provider-backed operations even when basic browser connectivity is healthy.
The public URL stopped working unexpectedly
Confirm that the PDD process is still running, the Localtonet client is connected, and the tunnel remains started. A tunnel is available only while the selected client is connected and the tunnel is running. Local connectivity loss or a stopped foreground process can interrupt the service without changing the saved tunnel configuration.
The interface is accessible to someone who should not have it
Stop the tunnel immediately. Review who received the URL, whether the application exposes authentication controls, and whether any credentials or sensitive project information may have been visible. Rotate compromised credentials through the systems that issued them. Deleting a tunnel does not itself rotate PDD provider credentials or Localtonet device tokens.
Frequently asked questions
What command installs PDD CLI?
The project's recommended installation command is uv tool install pdd-cli. If uv is not installed, install it first using an approved method for your operating system. PDD also identifies pip as an alternative, but this guide does not guess an exact pip command that is not established by the supplied evidence.
What should I run after installing PDD CLI?
Run pdd setup and complete the prompts displayed by your installed version. Resolve setup errors before trying to launch or expose the web interface.
How do I start the PDD web interface?
Run pdd connect. The documented local address is http://localhost:9876. PDD also documents pdd connect --local-only for a local-only connection workflow.
Should I test localhost:9876 before creating the tunnel?
Yes. The local page must work first. If it does not, fix PDD installation, setup, or startup before changing Localtonet settings. A tunnel cannot forward to a service that is not listening successfully.
Which Localtonet tunnel type should I use for PDD?
Use an HTTP tunnel because PDD exposes a browser-based HTTP interface. Point it to the local address that the Localtonet client uses to reach PDD and to port 9876.
Does creating a Localtonet tunnel start PDD automatically?
No. Start PDD separately with pdd connect or its documented local-only form. You must also start the Localtonet tunnel after creating it. Both the PDD process and the connected Localtonet client must remain available.
Does the public Localtonet URL automatically protect the PDD interface with a login?
Do not assume so. The supplied evidence does not establish PDD web-interface authentication behavior, and a public URL is not a substitute for authorization. Review the interface and its current security controls before exposing it, share the address only with intended users, and stop the tunnel when the session ends.
Do I need router port forwarding or a public IP?
No. The Localtonet client establishes an outbound connection to our relay server. This workflow does not require inbound router port forwarding, firewall changes, VPN setup, or a public IP address.
Why use a Localtonet tunnel if PDD Cloud exists?
PDD Cloud is the project's hosted browser-based option. A Localtonet tunnel addresses a different workflow: you continue running the PDD interface locally and expose that specific local service through a public HTTPS address. Choose based on whether you want the hosted PDD experience or controlled reachability to your own running instance.
Connect your verified PDD interface with Localtonet
Install and verify PDD at localhost:9876 first, then create an HTTP tunnel when you need temporary remote access without configuring inbound router port forwarding.


