

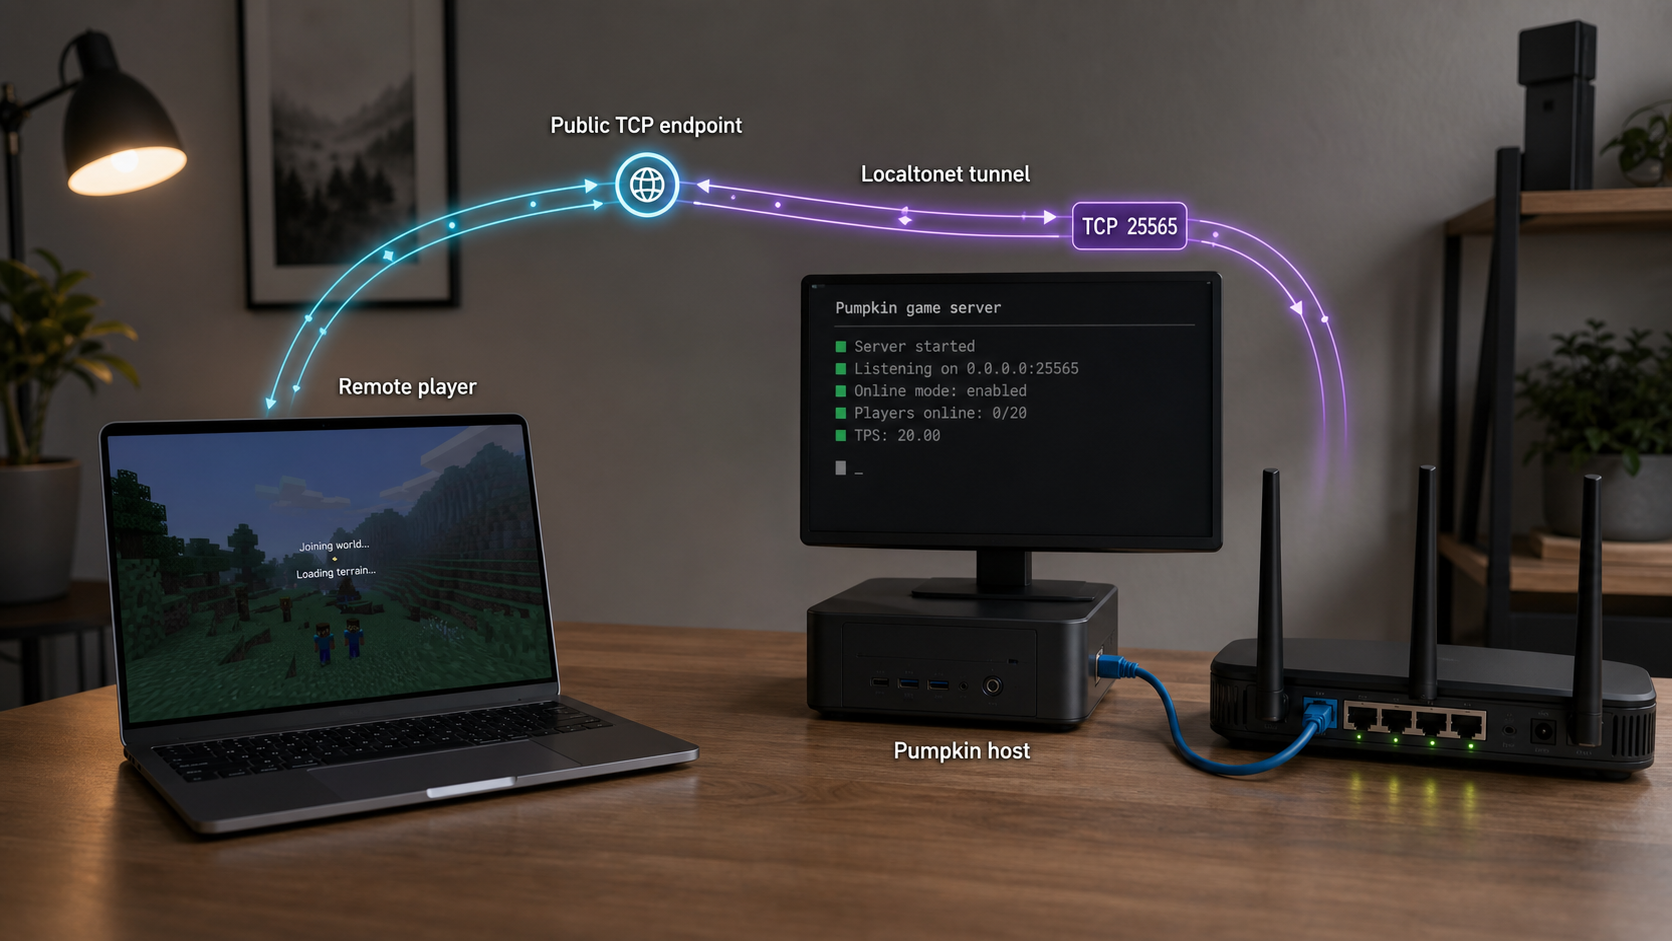
Run Pumpkin locally first, verify the Java Edition server, and then make it reachable through a TCP tunnel
Pumpkin is an open-source Minecraft server written in Rust and currently under heavy development. This guide follows an installation-first workflow: use Pumpkin’s current official Quick Start instructions, configure and start the server, confirm that a Java Edition client can connect locally, and only then introduce remote access. Once the local service works, we will configure a Localtonet TCP tunnel for the server’s actual listening address and port. This approach separates Pumpkin troubleshooting from networking troubleshooting and avoids guessing installation commands, ports, file paths, or defaults that may change as the project develops.
Understand the installation and networking workflow
A self-hosted game server has two separate layers that should be tested independently. The first layer is Pumpkin itself: its installation method, configuration, world data, runtime process, and local listening endpoint. The second layer is external connectivity: how players outside the host network reach that endpoint. Trying to configure both layers at once makes failures harder to diagnose because a connection problem could come from Pumpkin, the host operating system, the local configuration, or the tunnel.
Pumpkin’s repository describes it as a Minecraft server built entirely in Rust. It also says that the project is under heavy development and directs users to its official Quick Start guide for the current installation procedure. The supplied project evidence does not establish one permanent installation command, package-manager workflow, Docker procedure, binary path, configuration path, bind address, or default listening port. We therefore do not reproduce inferred commands here. Follow the current Quick Start guide exactly and treat its current release-specific instructions as authoritative.
After Pumpkin is running, identify the address and port on which the Java Edition service is actually listening. Obtain these values from Pumpkin’s current configuration, official documentation, or runtime output. They become the local target for the Localtonet TCP tunnel. Do not copy a port from an unrelated Minecraft tutorial and assume Pumpkin uses it in your installation.
Prepare the Pumpkin host
Choose a machine that can remain online while players use the server. The Pumpkin process, its world data, and the Localtonet client all need to be available during a remote session. If the machine sleeps, shuts down, loses its network connection, or stops Pumpkin, players will not be able to connect.
Before installing, open Pumpkin’s current Quick Start guide and review every prerequisite it lists for your chosen release and operating environment. Complete those prerequisites without substituting commands from older posts unless the project documentation explicitly supports them. Because the available evidence does not establish a fixed operating-system matrix or permanent installation command, this article intentionally avoids claiming support for a particular platform or packaging method.
Install Pumpkin from the current official instructions
Use the method presented by the Quick Start guide for the release you intend to run. Keep the server in a location where its configuration and persistent world data can be backed up. If the documented process includes release selection, configuration generation, license acceptance, or another required action, complete it exactly as shown by Pumpkin. Do not expose the service publicly during this initial installation phase.
Pumpkin’s public project materials describe TOML-based configuration, but the supplied evidence does not establish a stable configuration filename or path. Locate the active configuration using the current Quick Start guide or runtime information rather than searching for a guessed file. Review the settings relevant to the server’s listening endpoint, player access, permissions, and gameplay before startup.
This guide does not hardcode a Pumpkin bind address or port because neither value is established by the supplied project evidence. Read the active Pumpkin configuration or startup output and record the actual Java Edition listening address and port. Using the wrong endpoint can create a tunnel that appears to run but cannot reach the server.
Start Pumpkin and inspect its runtime state
Start Pumpkin using the exact procedure in the current Quick Start guide. Watch the runtime output for errors, missing files, configuration problems, or an incomplete startup. Record the listening endpoint reported by the server if it is shown. Keep the process running while performing local tests.
If Pumpkin exits or reports a startup error, resolve that problem before continuing. Recheck the installed release, prerequisites, file permissions, and active configuration against the official guide. Localtonet should be added only after the application is demonstrably healthy on the host network.
Verify the Java Edition server locally
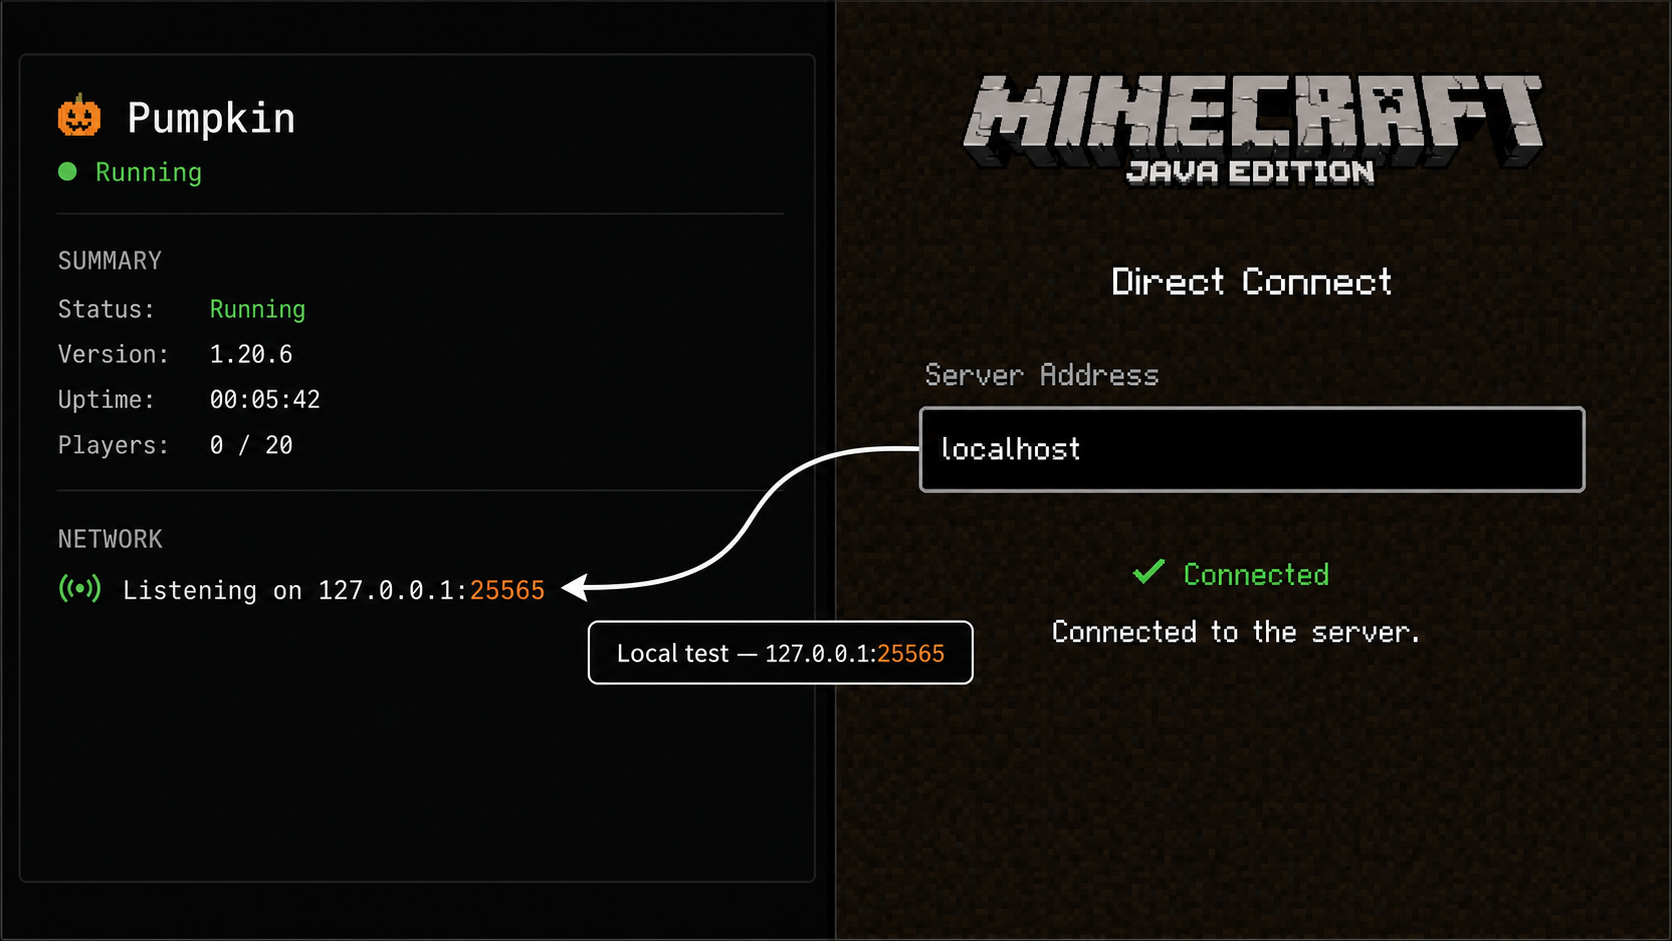
Local verification establishes that the game server works without any public tunnel. From the host machine, or from another trusted device that can reach the host over the local network, open a compatible Java Edition Minecraft client and add the server using Pumpkin’s verified local address and port. Use the exact endpoint reported by the running server or configured in Pumpkin.
A successful test should go beyond seeing a server entry. Confirm that the client can reach the server, complete the connection process, and enter the game far enough to demonstrate that Pumpkin is responding correctly. Also check Pumpkin’s runtime output while connecting. The logs or console should show the attempted session and can help distinguish an application problem from an addressing mistake.
If the local client cannot connect, stop here. Check whether Pumpkin is still running, whether it is listening on the expected network interface, whether the client used the correct port, and whether host-level security controls permit the intended local connection. The exact corrective action depends on the active Pumpkin configuration and operating environment, so avoid changing unrelated network settings blindly.
Pumpkin’s repository currently marks Bedrock Edition as work in progress. This tutorial therefore covers the verified Java Edition server endpoint and recommends TCP for that endpoint. It does not claim a tested Bedrock UDP configuration or provide guessed UDP settings.
Choose the correct Localtonet tunnel type
With Localtonet, the client application on your device establishes an outbound connection to one of our relay servers. This lets you expose a reachable local service without configuring inbound router port forwarding, changing the router firewall, setting up a VPN, or requiring a public IP address. For this tutorial, the Localtonet client must run on the Pumpkin host or on another device that can reach the verified Pumpkin endpoint.
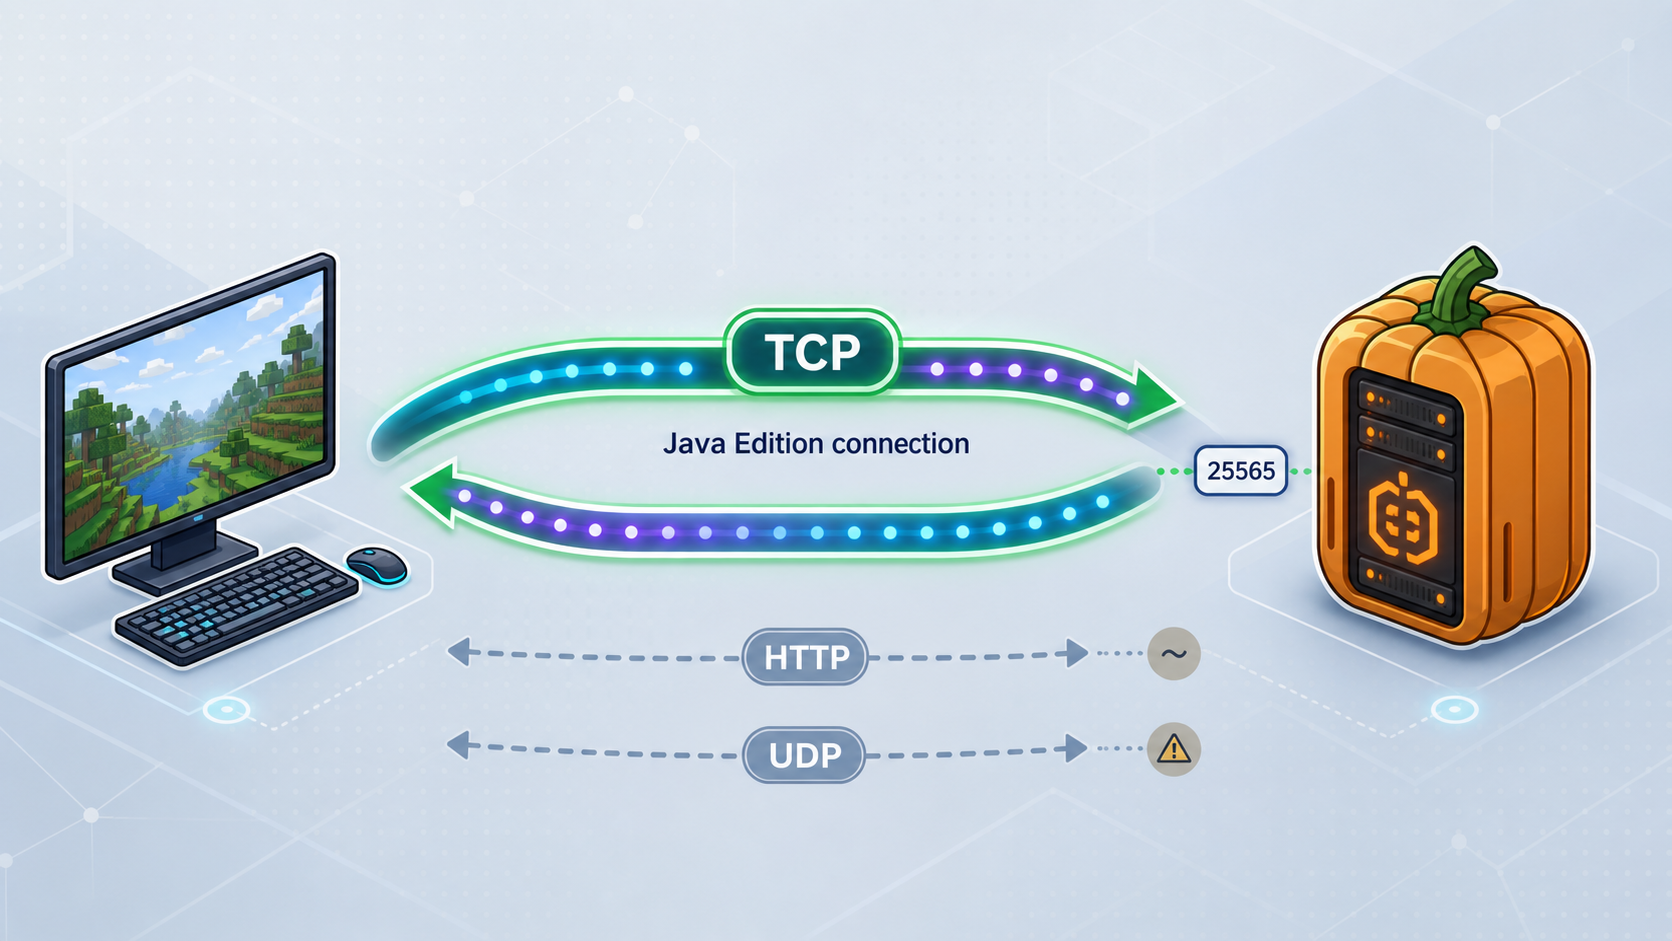
A Minecraft Java Edition game endpoint is a raw network service rather than a conventional website. A TCP tunnel is therefore the appropriate Localtonet family for the verified Java Edition listener. The tunnel points to the local IP address and port where Pumpkin is already accepting connections. When the selected Localtonet client is connected and the tunnel is running, players connect using the assigned public host and port.
| Option | Use in this setup | Behavior |
|---|---|---|
| TCP tunnel | Recommended for the verified Pumpkin Java Edition endpoint | Forwards the public TCP host and port to Pumpkin’s configured local IP address and port. |
| HTTP tunnel | Not the game connection used in this guide | Intended for local HTTP services that need a public web address, not a raw Java Edition game endpoint. |
| UDP tunnel | Not documented here | Would require an independently verified UDP service. This article does not infer a Bedrock endpoint while that support is marked as work in progress. |
| VPN Manager | Not required for this public server workflow | Provides private mesh VPN functionality and is distinct from the standard TCP tunneling used here. |
Expose Pumpkin through a Localtonet TCP tunnel
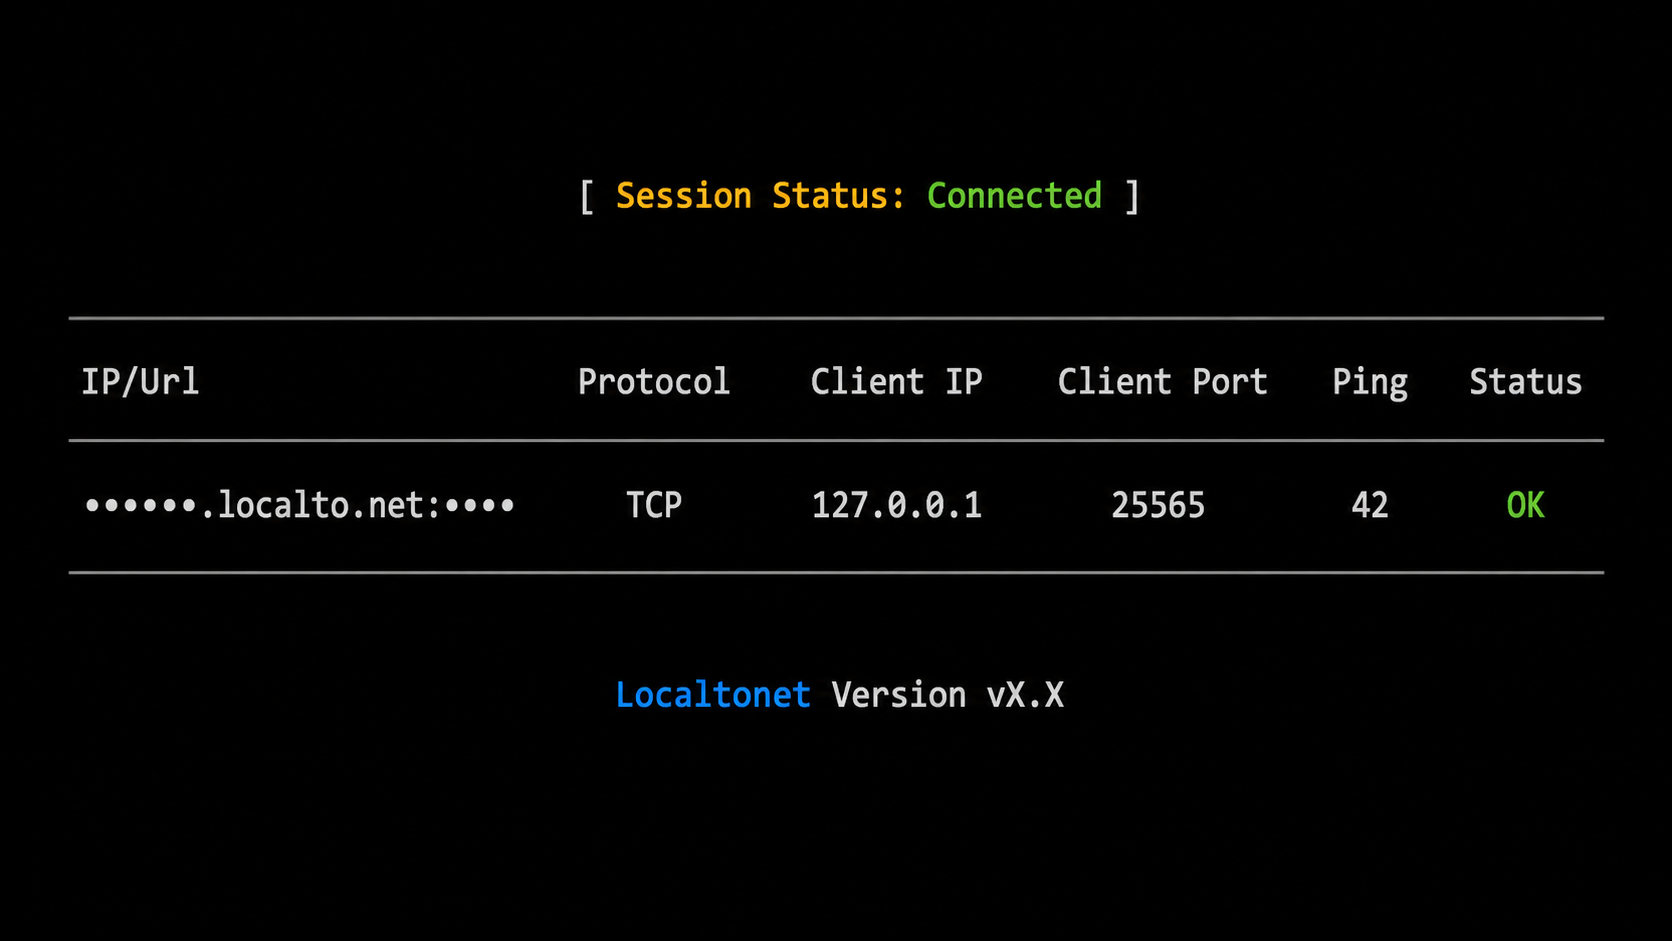
Complete these steps only after the local Java Edition connection succeeds. Keep the Pumpkin process running throughout the setup and use the endpoint you already verified. Available relay servers and regions can vary, so select a current option from the Localtonet dashboard instead of copying a server code from an older tutorial.
Install and run the Localtonet client
Install the Localtonet client on the Pumpkin host or on another device that can reach Pumpkin’s verified local TCP endpoint. Start the client and keep it connected while the server should remain remotely accessible.
Authenticate or select the client device
Use the device-specific authentication token associated with the client that will run the tunnel. Treat the token as a credential, do not publish it, and do not paste it into screenshots or server announcements.
Select an available relay server
Choose a currently available Localtonet relay server or region from the dashboard. Do not hardcode a server code from another setup because available values must come from the current product interface.
Create the TCP tunnel configuration
Select TCP and enter the local IP address and port on which Pumpkin is actually listening. These must be the same values validated during the local Java Edition test, adjusted only when the Localtonet client runs on a different reachable device and therefore needs the host’s LAN address.
Start the tunnel and record the public endpoint
Creating a tunnel does not automatically mean it is running. Press Start, confirm that the selected client remains connected, and record the public host and port assigned to the TCP tunnel.
Test remotely, then stop or delete when appropriate
Test from a network outside the host LAN using the assigned public host and port. When remote access is no longer required, stop the tunnel. Delete it if the configuration is no longer needed.
A public TCP endpoint can receive connection attempts from the internet. Apply the access controls available in Pumpkin, restrict administrative capabilities, protect credentials, keep the host and server updated, and share the public endpoint only with intended players. Do not treat a tunnel as a replacement for application-level authentication, permissions, backups, or safe server administration.
Test and troubleshoot the completed path
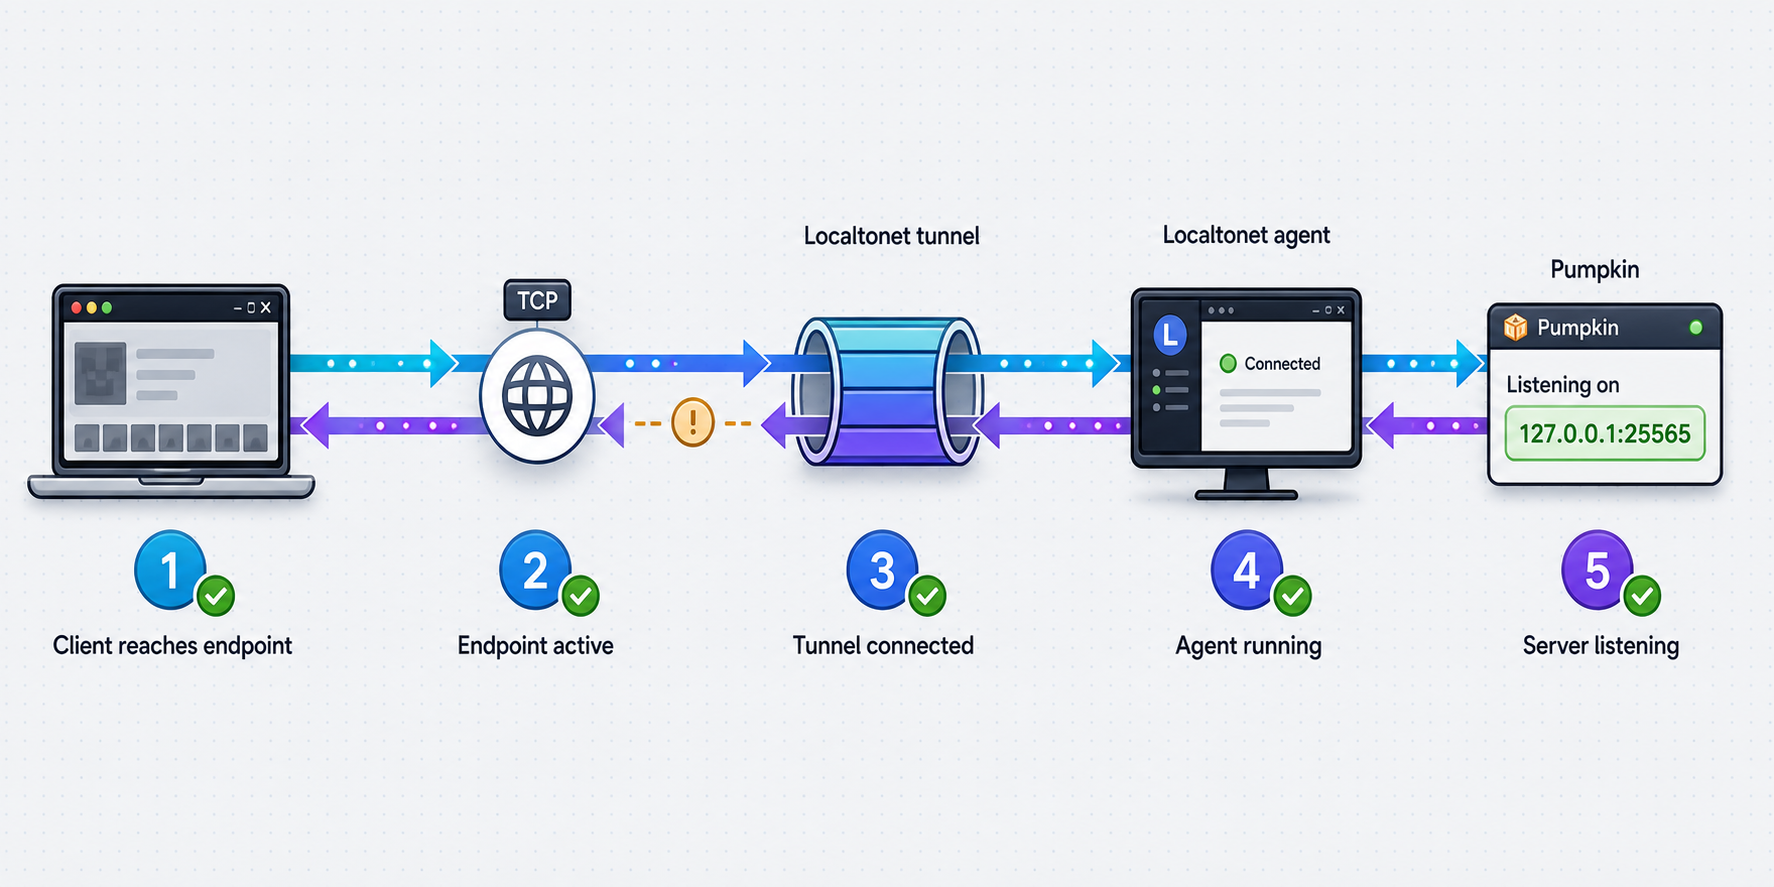
Perform the first public test from a genuinely external connection rather than another device that may still be using the same LAN path. Enter the exact public host and port supplied by the running TCP tunnel. Keep both the Pumpkin runtime output and the Localtonet dashboard visible during the test.
If the tunnel is not reachable, confirm that the selected Localtonet device is connected and that the tunnel has been started. If the tunnel is running but Pumpkin receives no connection, recheck the configured local target. A loopback address may work when the client and Pumpkin run on the same machine, but a client on another device generally needs an address through which that device can actually reach the Pumpkin host. Use an address proven by your earlier local-network test rather than guessing.
If Pumpkin sees the connection but the player cannot complete login, investigate the game server, client compatibility, permissions, and current Pumpkin feature status. That symptom indicates that traffic is reaching the application, so repeatedly recreating the tunnel is unlikely to resolve an application-level problem.
Remember that the public endpoint remains available only while the selected device is connected and the TCP tunnel is running. Pumpkin must also remain active. This lifecycle makes intentional shutdown straightforward: stop the tunnel to remove public reachability, and stop Pumpkin when the game server itself is no longer needed.
Frequently asked questions
Which command should I use to install Pumpkin?
Use the command or installation method in Pumpkin’s current official Quick Start guide. The supplied project evidence does not establish a permanent command, package manager, container workflow, or source-build procedure, so reproducing one here would risk giving outdated or unsupported instructions.
What local port should I enter in Localtonet?
Enter the port on which your running Pumpkin Java Edition server is actually listening. Obtain it from the active configuration, current documentation, or runtime output, and verify it with a successful local connection before creating the tunnel.
Does this require router port forwarding or a public IP address?
No. The Localtonet client establishes an outbound connection to our relay server, so this workflow does not require inbound router port forwarding, a public IP address, firewall changes, or VPN setup.
Must Localtonet run on the same machine as Pumpkin?
Not necessarily. The client can run on the Pumpkin host or on another device that can reach Pumpkin’s local IP address and port. Running both on the same machine can simplify the target path, but reachability must always be verified in the actual network arrangement.
Can I use this guide for Pumpkin Bedrock Edition access?
This guide is limited to the Java Edition server endpoint over TCP. Pumpkin’s repository marks Bedrock Edition as work in progress, and the available evidence does not establish a verified Bedrock bind address, port, or UDP setup. Consult current Pumpkin documentation before attempting that configuration.
Why is the public server unavailable after I created the tunnel?
Creation and startup are separate lifecycle actions. Confirm that Pumpkin is running, the selected Localtonet device is connected, the TCP target matches the verified local endpoint, and the tunnel has been started. The public endpoint is available only while the client is connected and the tunnel is running.
Make your verified Pumpkin server reachable
Once Pumpkin accepts Java Edition connections locally, create a Localtonet TCP tunnel for that exact listening endpoint and share the assigned public host and port with your intended players.
Get Started Free →

