

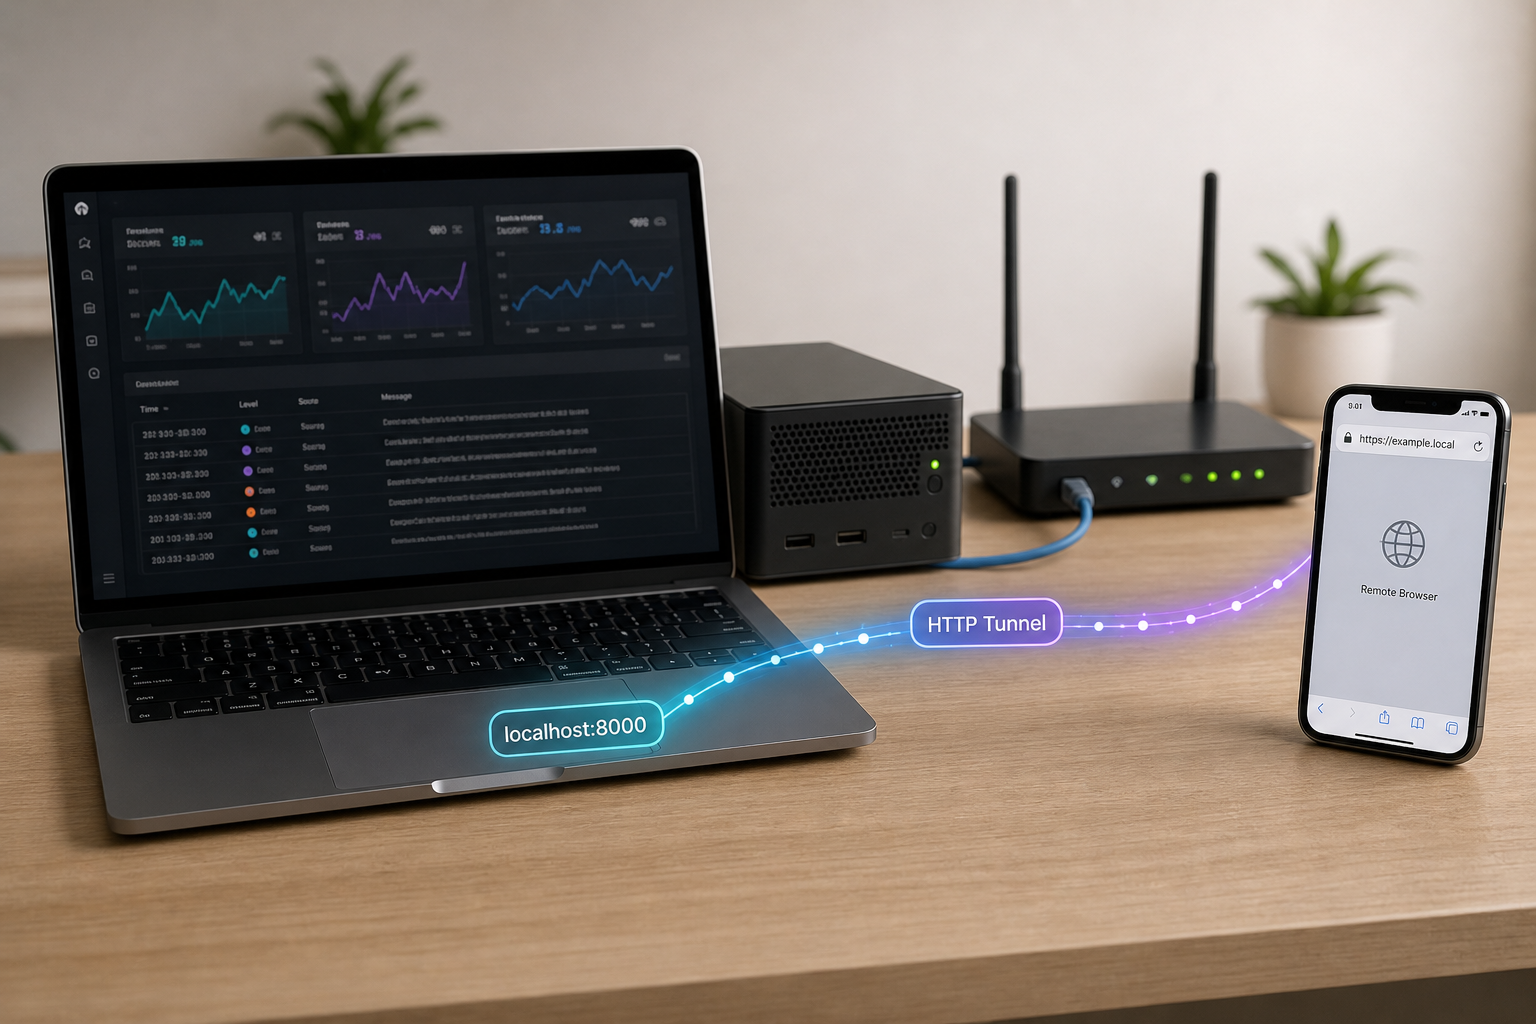
Run Parseable on your own machine, prove it works locally, then open it up to remote agents and teammates through a single HTTP tunnel
Parseable is an open source observability platform written in Rust that stores logs, metrics, traces and events. A fresh instance listens on port 8000 and serves both a web console and an ingest API, which is convenient on a laptop or home lab but awkward when the machines producing logs live somewhere else. In this guide we install Parseable with the official quickstart script, send one test event, confirm it in the console, and only then add a Localtonet HTTP tunnel so the same service is reachable at a public HTTPS address. We also cover what the quickstart does not tell you, including the limits of the default credentials and the parts of a production deployment that we cannot verify here.
📋 What's in this guide
Why self-host Parseable and put a tunnel in front of it
Parseable describes itself as an open source, unified infrastructure observability platform built in Rust on a data lake architecture. It handles logs, metrics, traces and events from applications, agents and systems. The project is actively maintained, and at the time of writing the latest release we checked is v3.2.6. Many teams try it first on a single machine because the official quickstart gets a working instance running with one command.
The difficulty appears the moment a second machine is involved. A Parseable instance running on your workstation, a home server or a VM behind NAT is reachable only on its local network. A remote server, a CI runner, a colleague, or an OpenTelemetry collector in another environment cannot send events to localhost:8000. The traditional answers are router port forwarding, firewall changes, a VPN, or renting a server with a public address. Each one is more work than a proof of concept deserves.
With Localtonet the client on the Parseable machine makes an outbound connection to one of our relay servers, and the tunnel gives you a public HTTPS address that forwards to the local port. You do not need inbound port forwarding, firewall changes or a public IP address on the Parseable host. Because Parseable serves its web console and its HTTP ingest API from the same port, one HTTP tunnel is enough for both.
/api/v1/ingest, with the target dataset chosen by the X-P-Stream header.
The steps for installing, sending a first event and verifying it come from Parseable's quickstart. The quickstart also points to a separate self-hosted installation guide for production, with Distributed and Standalone variants. We summarize what that page establishes, but we do not reproduce commands for Docker, Kubernetes, Bare Metal or Railway because we have not verified them here. Where a detail is not established, we say so rather than guess.
Prerequisites and choosing a Parseable variant
Before you start, you need a machine that will run Parseable and that can run a shell. The quickstart provides one installer for Linux and macOS (a shell script piped to bash) and one for Windows (a PowerShell command). Beyond that, the quickstart does not list specific CPU, memory, disk, operating system version or architecture requirements, so we cannot give numbers. Check the project's own documentation if you are sizing hardware for anything beyond a trial.
You also need outbound internet access from that machine, both to download the installer and later for the Localtonet client to reach a relay server. For the tunnel part you need a Localtonet account, the Localtonet client application installed on the same machine (or on a machine that can reach port 8000 of the Parseable host), and an auth token for that device from your dashboard.
Distributed versus Standalone
Parseable's installation page says it comes in two variants, and the choice matters for how seriously you can treat the instance.
| Variant | Intended for | Storage | Documented install paths |
|---|---|---|---|
| Standalone | Hobbyists, first-time users, small workloads and testing | Run with a local store argument so the disk attached to the machine is the store. Not recommended for production. | Kubernetes, Docker, Bare Metal and VMs, Railway |
| Distributed | Production-grade deployments with multiple ingestion nodes | Requires an object store as persistent storage | Kubernetes, Docker Compose, Bare Metal and VMs, Railway |
| Quickstart binary | Trying Parseable locally and sending a first event | Not stated on the quickstart page | Install script for Linux/macOS, PowerShell script for Windows |
This guide follows the quickstart route, which is the right starting point for evaluation. If you intend to run Parseable for real workloads, plan for the Distributed variant and an object store, and read Parseable's self-hosted installation page for the exact procedure for your platform. Putting a Localtonet tunnel in front of a deployment does not change which Parseable variant you should choose; it only changes how clients reach the HTTP port.
Install Parseable with the official quickstart
The quickstart installs a single binary and starts a local instance. On Linux and macOS you run the install script. On Windows you run a PowerShell command. Both commands download and execute a script from the internet, so if your policies require it, open the URL in a browser or download the script first and read it before running it.
Linux and macOS
curl -fsSL https://logg.ing/install | bashWindows
powershell -NoProfile -Command "irm https://logg.ing/install-windows | Out-String | iex"
The project README shows a slightly shorter form of the Windows command, powershell -c "irm https://logg.ing/install-windows | iex". The quickstart page shows the longer form above, which we use because it is the more recent presentation. Run it from a PowerShell or Command Prompt window, as the command itself launches PowerShell.
After installation, the quickstart says the local instance listens on port 8000. The page does not say where the binary is placed, whether it installs a background service, how to stop or restart it, or whether it starts automatically after a reboot. If you need any of that, check what the script reports during installation and consult Parseable's documentation; we will not guess file paths or service names.
A fix to the install script was part of the v3.2.6 release notes ("fix: install script"), which is a reasonable reason to prefer the current script rather than an old copy you saved earlier.
Running curl ... | bash executes whatever the server returns at that moment. That is common for quickstarts, but on a machine that holds anything sensitive, read the script first or use a disposable VM or container host for your evaluation.
Send your first event to the ingest API
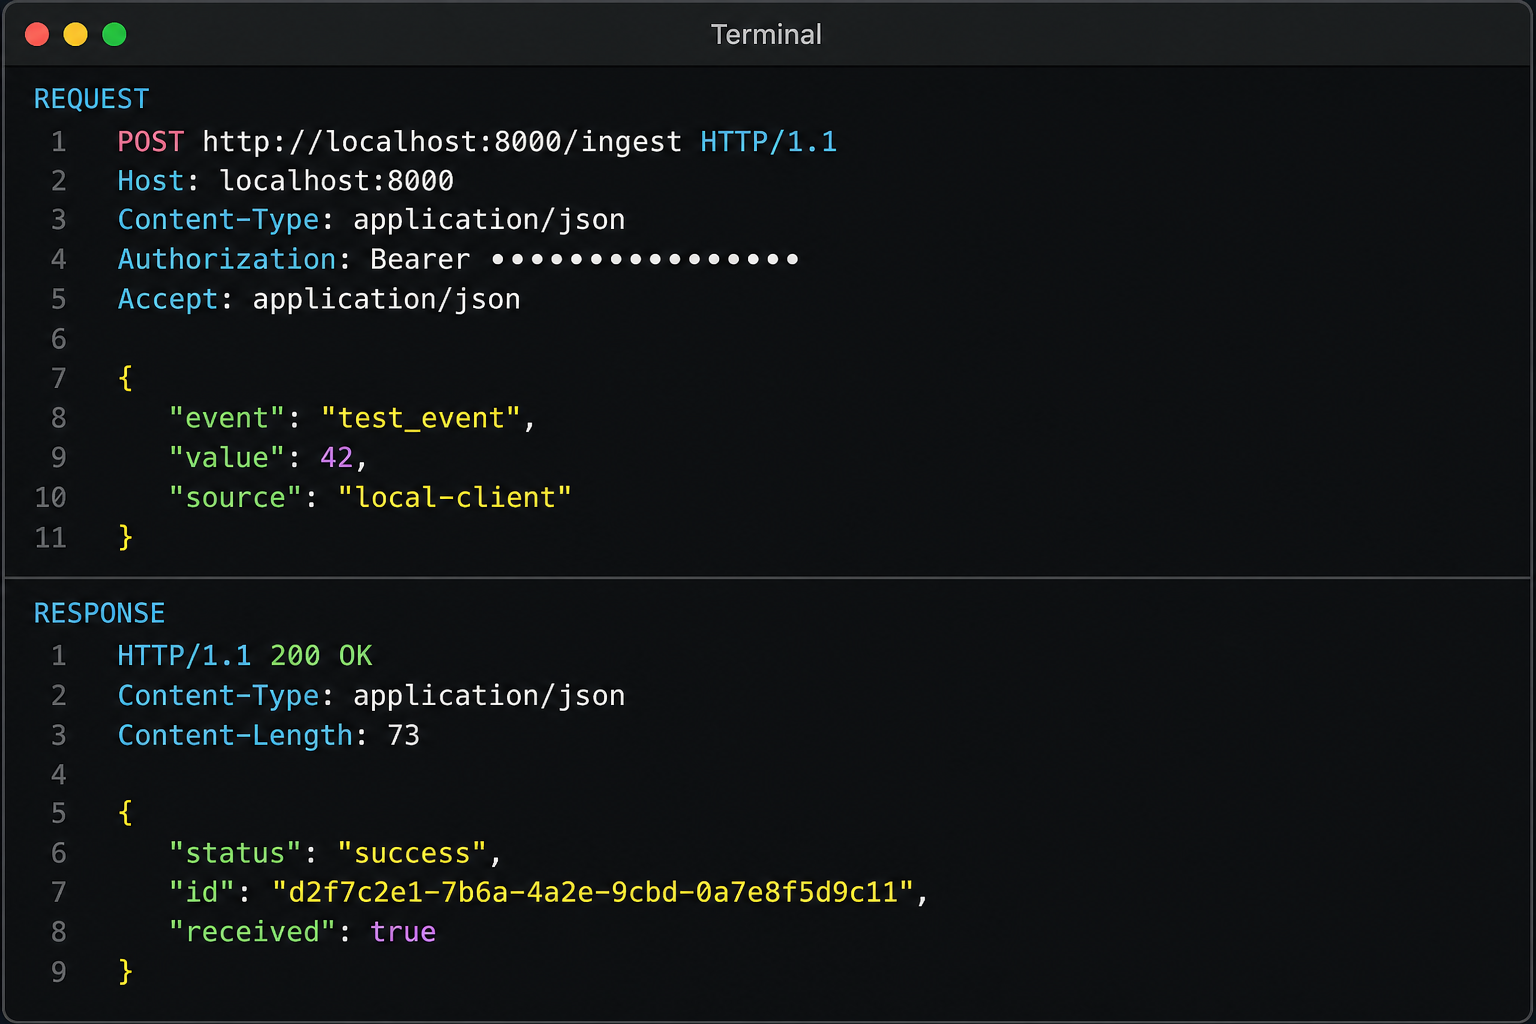
Parseable organizes incoming data into datasets, which the ingest API calls streams. You pick the dataset per request with the X-P-Stream header. The quickstart sends a single JSON event to a dataset named demo. The body is a JSON array of objects, even when you send only one event.
curl --location 'http://localhost:8000/api/v1/ingest' \
  --header 'X-P-Stream: demo' \
  --header 'Authorization: Basic YWRtaW46YWRtaW4=' \
  --header 'Content-Type: application/json' \
  --data '[{"message":"hello from Parseable"}]'
Each part of this command has a purpose, and understanding them makes the remote version easier to reason about later.
- URL:
http://localhost:8000/api/v1/ingestis the ingest endpoint on the local instance. Locally, plain HTTP is fine. Through a Localtonet HTTP tunnel you will use an HTTPS address instead. - X-P-Stream header: selects the dataset. The quickstart uses
demo. A different value targets a different dataset. - Authorization header: HTTP Basic authentication. The value
YWRtaW46YWRtaW4=is the Base64 encoding ofadmin:admin, the default local credentials the quickstart mentions. - Content-Type:
application/json, because the payload is JSON. - Data: an array containing one object with a
messagefield.
The quickstart does not document the response body or status code for a successful ingest, so we do not describe one. The reliable way to confirm success is to see the event in the console, which is the next step.
Verify the installation locally
The whole install, send and verify cycle is short enough to treat as three steps. Run them in order and do not move on to the tunnel until the last one succeeds.
Install and start the local instance
Run the install script for your operating system as shown above. Once it finishes, the local instance should be listening on port 8000.
Send one JSON event to the demo dataset
Run the curl command against http://localhost:8000/api/v1/ingest with the X-P-Stream: demo header and the default Basic authorization header.
Open the console and look for the event
Browse to http://localhost:8000, sign in with admin and admin, and select demo in the log explorer. You should see an event whose message is "hello from Parseable".
If the event does not appear, the quickstart gives three things to check: that Parseable is still running, that the URL is correct, and that the credentials and X-P-Stream header in your command match what you intended. We expand on that in the troubleshooting section.
A tunnel adds a public hostname, a relay and TLS in front of your service. If the first remote request fails, you want to know the service itself is healthy. A successful local verification means any later failure sits in the tunnel configuration, the public URL or the client's request, not in Parseable.
Routine operation and what to do next
Once the first event is visible, the quickstart suggests the next moves: send data from OpenTelemetry, a logging agent or your own application, then query logs, build a dashboard, or set an alert. Parseable's documentation navigation lists sections for ingestion, OpenTelemetry, Prometheus remote write, a SQL editor, PromQL, alerting, dashboards, a command line tool called pb, and an MCP server. We have not verified the specifics of those features, so use them as a map of where to look next rather than as instructions from us.
Three practical points about operating a quickstart instance:
- Keep the process running. The tunnel only carries traffic while Parseable itself is up. The quickstart does not describe how to run it as a managed service, so if you need it to survive reboots or logouts, check Parseable's documentation for the supported method on your platform.
- Treat the local store as disposable. Parseable states that the local-store standalone mode is not recommended for production. Do not rely on a quickstart instance for logs you cannot afford to lose.
- Anonymous usage data. The v3.2.6 release notes mention setting
P_SEND_ANONYMOUS_USAGE_DATA=falsefor Docker Compose tests. That tells us such a setting exists, but the quickstart does not describe its semantics or whether the install script's instance sends such data. If that matters to you, confirm against Parseable's configuration documentation.
Expose Parseable with a Localtonet HTTP tunnel
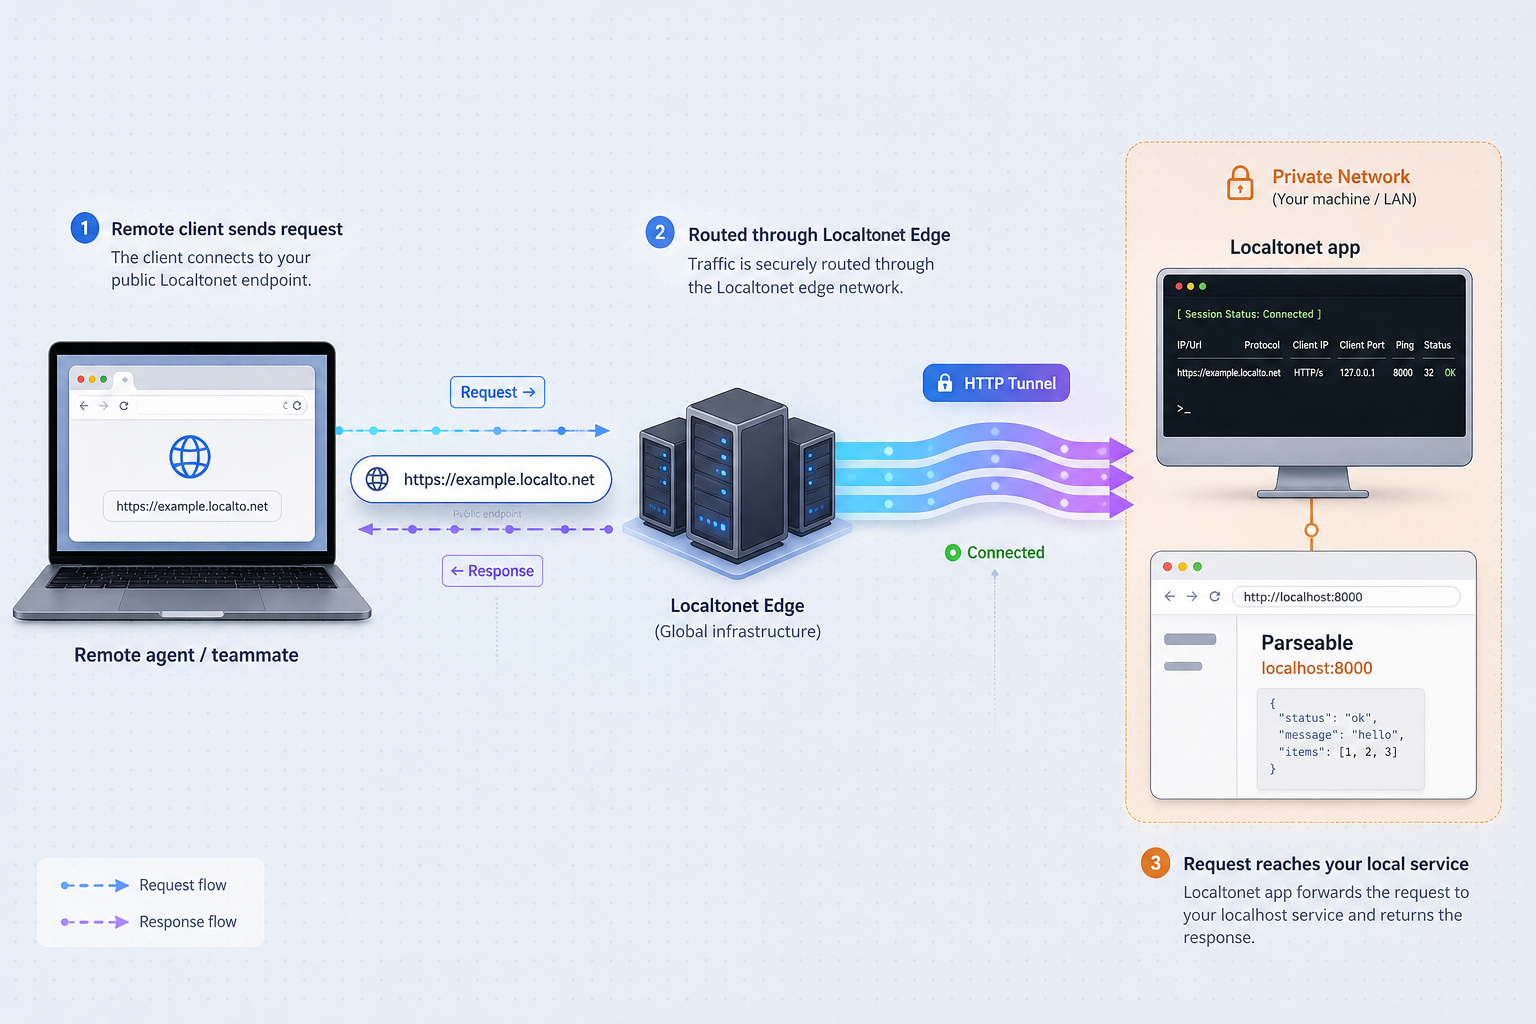
Now that Parseable is verified on port 8000, you can expose it. The Localtonet workflow for a web service is the same as for any HTTP tunnel: install the client on a device that can reach the service, authenticate that device with its token, choose a relay server, create an HTTP tunnel that points at the local IP and port, and start it. Creating a tunnel does not start it, so the final Start action matters. The tunnel is available only while the selected client is connected and the tunnel is running.
Install and run the Localtonet client
Install the Localtonet client on the machine running Parseable, or on a device that can reach its port 8000. Get it from the Localtonet download page.
Authenticate the device with its token
Use the auth token for this device from your dashboard. The token identifies the device that will run the tunnel, so do not paste it into tickets, screenshots or shared notes.
Select an available relay server
Choose a server from the options offered in your dashboard. Available servers and regions change, so we do not list them here.
Create an HTTP tunnel to port 8000
Create a new HTTP tunnel and set the local target to the IP address of the Parseable host and port 8000. When the client runs on the same machine, the loopback address is the usual choice. Pick a Process Type: Random Sub Domain, Custom Sub Domain or Custom Domain. All of them serve the content at a public HTTPS address.
Start the tunnel
Press Start. A tunnel that has been created but not started does not forward any traffic.
Use the assigned public URL
Copy the public HTTPS address shown for the tunnel. That address replaces http://localhost:8000 in your ingest commands and in the browser. When you no longer need remote access, stop or delete the tunnel.
For the exact field names and screens in the current dashboard, follow the official Localtonet HTTP tunnel documentation. We keep the steps above at the level of the documented workflow so they stay correct as the interface evolves.
Which Process Type should you choose?
A Random Sub Domain is the quickest way to try things out, and it is enough for the verification below. A Custom Sub Domain gives you a name you can choose, which is easier to put into collector or agent configuration. A Custom Domain lets you use your own hostname, but its DNS requirements must be checked against the current Localtonet documentation before you rely on them, and we do not give DNS instructions here. Whatever you choose, agents that send logs will have the public address written into their configuration, so a stable address matters more for long-lived setups than for a first test.
Test the public address end to end
Repeat the earlier ingest test, this time from a different machine or network, using the public address instead of localhost. Replace the placeholder with the HTTPS address your tunnel shows. Keep the header names and the JSON body unchanged.
curl --location 'https://YOUR-TUNNEL-ADDRESS/api/v1/ingest' \
  --header 'X-P-Stream: demo' \
  --header 'Authorization: Basic YOUR_BASE64_CREDENTIALS' \
  --header 'Content-Type: application/json' \
  --data '[{"message":"hello from a remote client"}]'
Then open the same public address in a browser, sign in, select the demo dataset in the log explorer and look for the new message. If both the remote event and the earlier local event appear, the full path works: a remote client, the Localtonet relay, the client on your Parseable host, and Parseable itself.
A few details about how the request travels help when you configure real senders:
- The remote sender needs only the public URL, the
X-P-Streamheader, a valid Authorization header and the JSON array body. It does not need to know anything about the machine behind the tunnel. - The Parseable host never accepts an inbound connection from the internet directly. The Localtonet client maintains the outbound connection and traffic is carried over it.
- If you point an OpenTelemetry collector or a logging agent at the tunnel, check Parseable's ingestion documentation for the endpoint paths and headers that integration expects. We have verified the plain JSON ingest endpoint only, so we do not state the exact configuration for other integrations.
Monitoring the tunnel itself
Localtonet has a platform-wide webhook feature that notifies you when a token or tunnel in a selected Token Group changes to Connected or Disconnected. It posts a JSON body with an Id, an ActionDate, a Type of Token or Tunnel, and a Status of Connected or Disconnected. For a log pipeline this can be useful: if your tunnel drops, remote senders will begin to fail, and an alert on that event tells you the gap is in connectivity rather than in your applications. The setup is described in the Localtonet webhook documentation.
Security before you share the URL
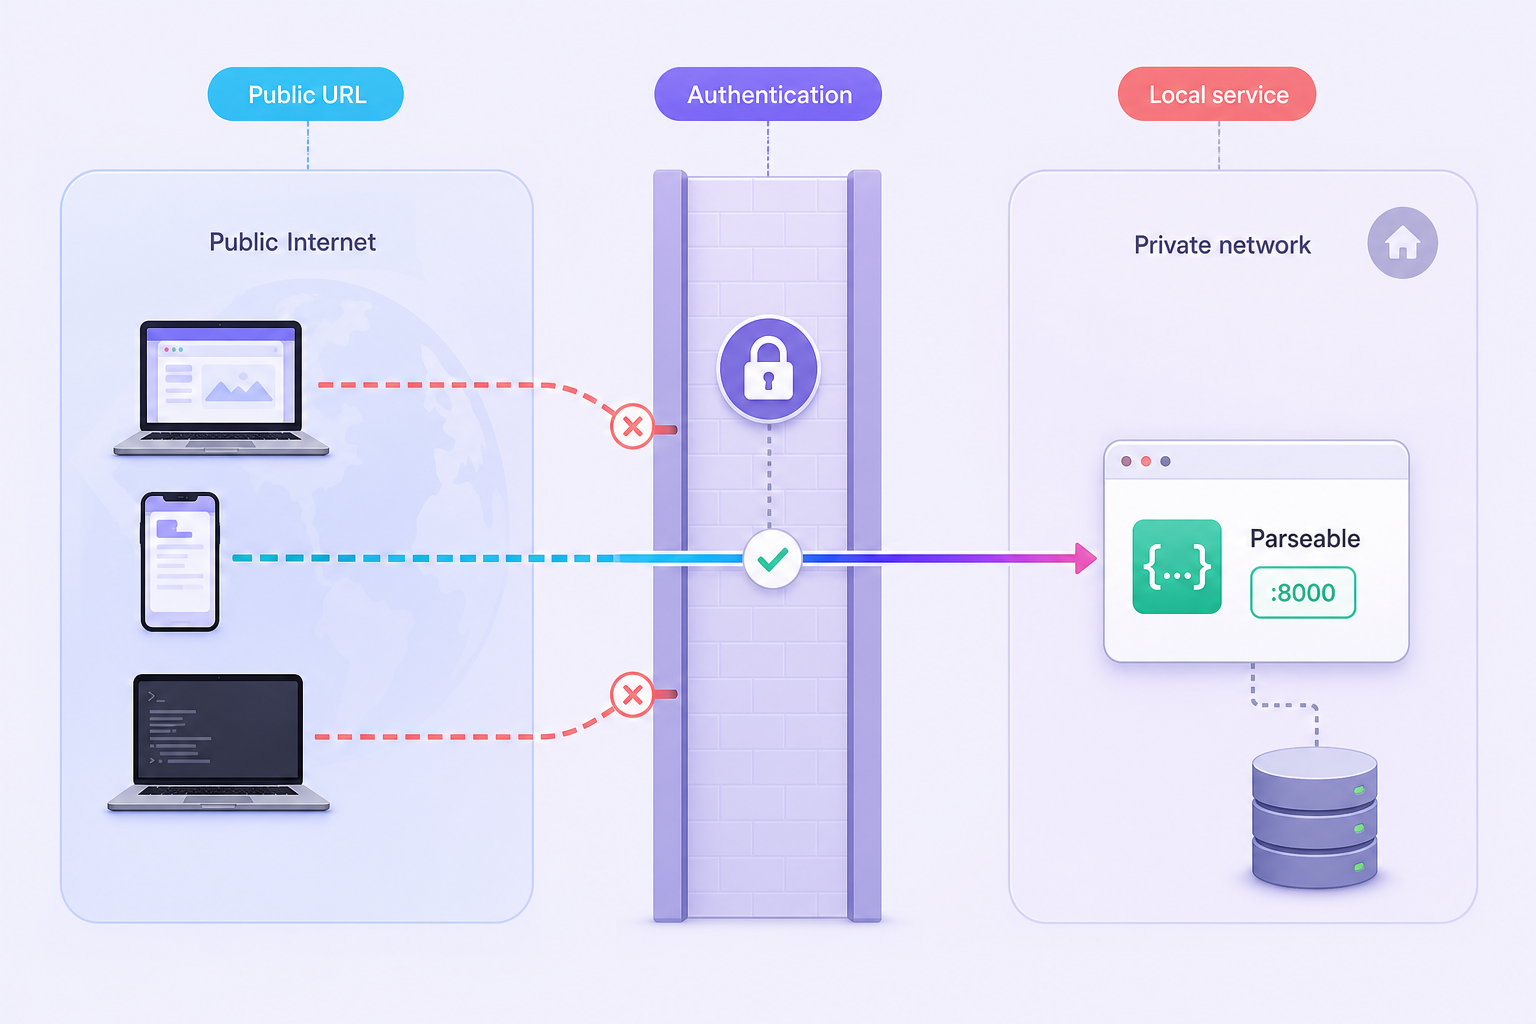
An observability platform is a collection point for data that is often sensitive: application logs can contain user identifiers, tokens, internal hostnames and error details. Putting its console and ingest API on a public HTTPS address changes who can try to reach it. A tunnel does not bypass your authorization; it makes your service reachable, and Parseable's own authentication is then the main control standing between the internet and your data.
The quickstart's local credentials are admin and admin, and the Base64 string for them is printed in public documentation. Anyone who finds your tunnel address can try that pair. Before sharing the URL or leaving the tunnel running unattended, change the credentials or restrict access some other way. The quickstart page does not describe how to change them, and we will not guess environment variables or settings. Look in Parseable's configuration and authentication documentation for the supported method.
Beyond credentials, these practices apply to any observability endpoint you publish:
- Start the tunnel only when you need it. A stopped tunnel forwards nothing, and a tunnel is available only while the client is connected and the tunnel is running. For short evaluations, stop or delete it afterwards.
- Use least privilege for senders. If Parseable lets you create separate users or API keys for agents, prefer those over a shared administrator login. The v3.2.6 release notes mention API key listing, but the quickstart does not explain how to use them, so confirm the details in Parseable's documentation.
- Protect your Localtonet token. The auth token identifies your device. Keep it out of shell history that is shared, repositories and chat logs.
- Avoid sending data you would not want exposed. Even with authentication, treat a quickstart instance as an evaluation environment. Do not point production workloads containing regulated or sensitive data at it.
- Check any access restrictions your plan offers. Access controls and IP restrictions are good practice where available, but we do not claim here that any particular restriction is present in every plan. Check your dashboard.
Troubleshooting
Work from the inside out. Confirm Parseable locally, then the tunnel, then the remote request. The table lists the symptoms we can reason about from the documented behavior.
| Symptom | Likely cause | What to check |
|---|---|---|
| The event does not appear in the console after a local ingest | Parseable stopped, wrong URL, wrong credentials, or wrong dataset header | Confirm Parseable is running, that the command targets port 8000, that the credentials match, and that the X-P-Stream header names the dataset you are viewing |
| Console or ingest works locally but the public URL does not respond | The tunnel was created but not started, or the client is disconnected | Confirm the tunnel shows as running, the Localtonet client is connected on the Parseable host, and the device token is the right one |
| The public URL responds with an error from the origin | The tunnel target is wrong, such as the wrong IP or port | Edit the tunnel so its local target is the Parseable host and port 8000, then restart it |
| The remote request is rejected as unauthorized | The Authorization header does not match the credentials on the Parseable instance | Rebuild the Basic header from the current username and password and resend |
| Remote events arrive in the wrong dataset | The X-P-Stream header differs from what you expect |
Check the header value in your agent or script, since it selects the dataset on every request |
| Remote senders suddenly fail after working | The tunnel stopped, the client disconnected, or the Parseable process ended | Check Parseable locally first, then the tunnel status, and consider the connected/disconnected webhook for earlier warning |
A systematic order of checks
First, run the original local curl command. If it fails, the problem is with Parseable or the local credentials, and the tunnel is irrelevant. Second, open the console at the local address and confirm the dataset exists. Third, check that the Localtonet client is running and connected on the Parseable host and that the tunnel has been started. Fourth, run the remote curl and compare the status and headers with the local call. Changing one variable at a time, the public URL in place of localhost, keeps the diagnosis short.
Limits of this guide
We have not verified the following, and the quickstart does not establish them: other ports beyond 8000, any TCP or UDP listeners, commands for Docker, Docker Compose, Kubernetes or Railway, steps to change default credentials, TLS configuration inside Parseable itself, log file locations, or upgrade procedures. If your situation depends on one of those, use Parseable's own documentation for it. The Localtonet side of the guide does not depend on them, because the tunnel only needs a reachable local IP address and port.
Frequently asked questions
Which port does Parseable use, and what should I forward in the tunnel?
The quickstart says the local instance listens on port 8000, and both the web console and the ingest API at /api/v1/ingest are reached there. A single Localtonet HTTP tunnel with the local target set to the Parseable host and port 8000 is therefore enough for browsers and remote senders.
What are the default Parseable credentials, and is it safe to keep them?
The quickstart uses admin and admin for the local instance. They are fine for a purely local test, but they are publicly documented, so you should not leave them in place on a publicly reachable tunnel. The quickstart does not explain how to change them, so follow Parseable's configuration and authentication documentation.
Can I use this setup for production?
Parseable states that the Standalone variant with a local store is not recommended for production and that a Distributed cluster with an object store is the production-grade option. The tunnel can sit in front of either, but this guide only walks through the quickstart instance. For production, follow Parseable's self-hosted installation guide and apply the security measures above.
Do I need to open ports on my router to receive logs remotely?
No. The Localtonet client makes an outbound connection to a relay server, and the tunnel provides the public address. You do not need router port forwarding, firewall changes, a VPN or a public IP address on the Parseable host.
Why does my remote ingest request fail even though the tunnel exists?
Creating a tunnel does not start it. Confirm the tunnel has been started and that the Localtonet client is connected. Then check that the local target is the right host and port 8000, that Parseable is running, and that the Authorization and X-P-Stream headers are correct.
Does this make Parseable a VPN or private network?
No. An HTTP tunnel publishes one web service at a public HTTPS address. It is not a VPN. If you want private connectivity between machines without publishing a public address, our separate VPN Manager feature is the product for that.
Start with Localtonet
Get Parseable running locally, confirm your first event, and then give your remote agents and teammates a public HTTPS address with a Localtonet HTTP tunnel to port 8000.
Get Started Free →